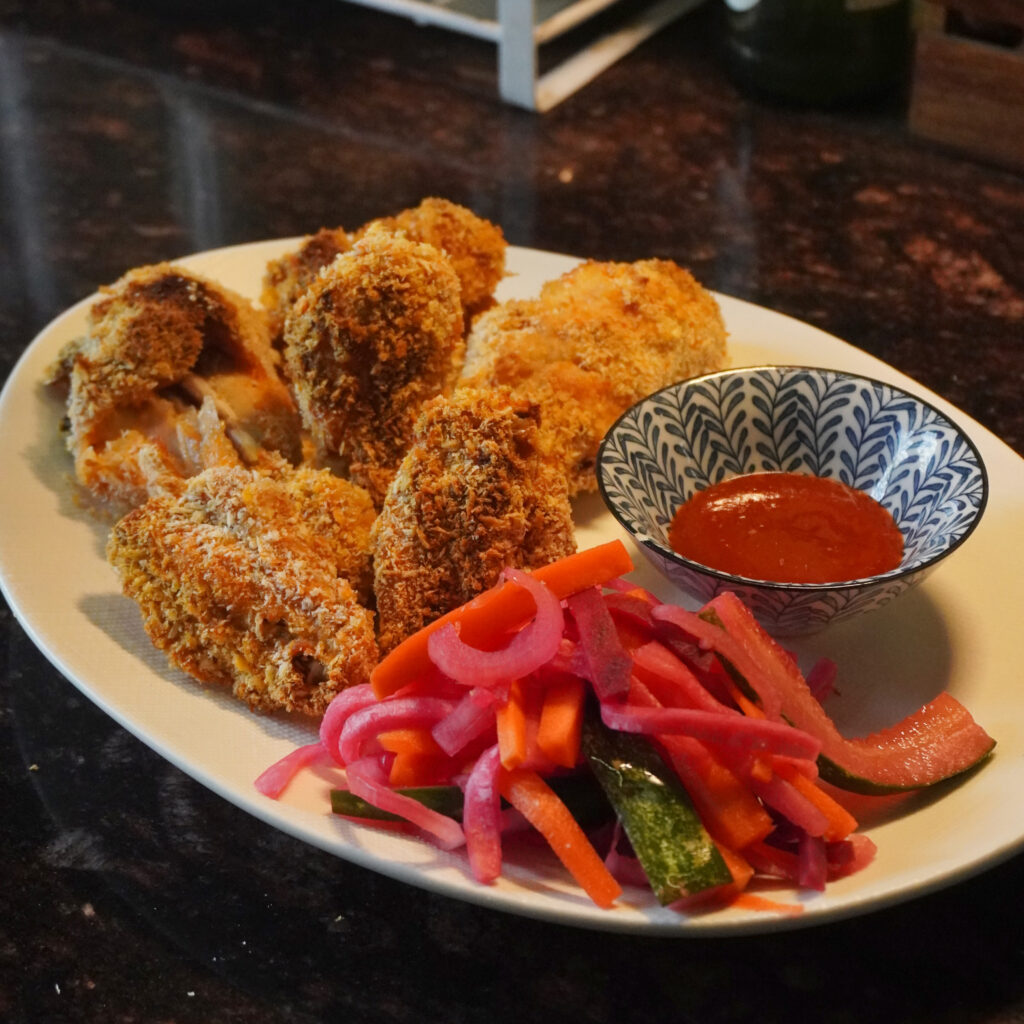
Zero-Oil Fried Chicken
I’m not joking. And it is absolutely crunchy!
Written by Sahini Banerjee
3 people
Serves 3 people
15 ingredients
3.5 hours
Marination time
Can fried Chicken be healthy?
This recipe definitely is. It gets even better when paired with pickled vegetable, or salsa and even rice. Make your weekends, your movie nights and girl dinners exciting by making this recipe. To be honest, I think this version of “fried” chicken is easier to make compared to deep frying the chicken.
I started making this recipe a long time ago, when dad ended up in the hospital and his first words after waking up from a massive heart attack were, “We won’t be able to have fried chicken anymore”. Fried Chicken is our favourite thing to eat together. And even though we don’t eat deep fried chicken anymore this is something we enjoy together thoroughly. Over the last few months, I have made many changes to my original recipe, and I am so happy to share it with you.
Ingredients
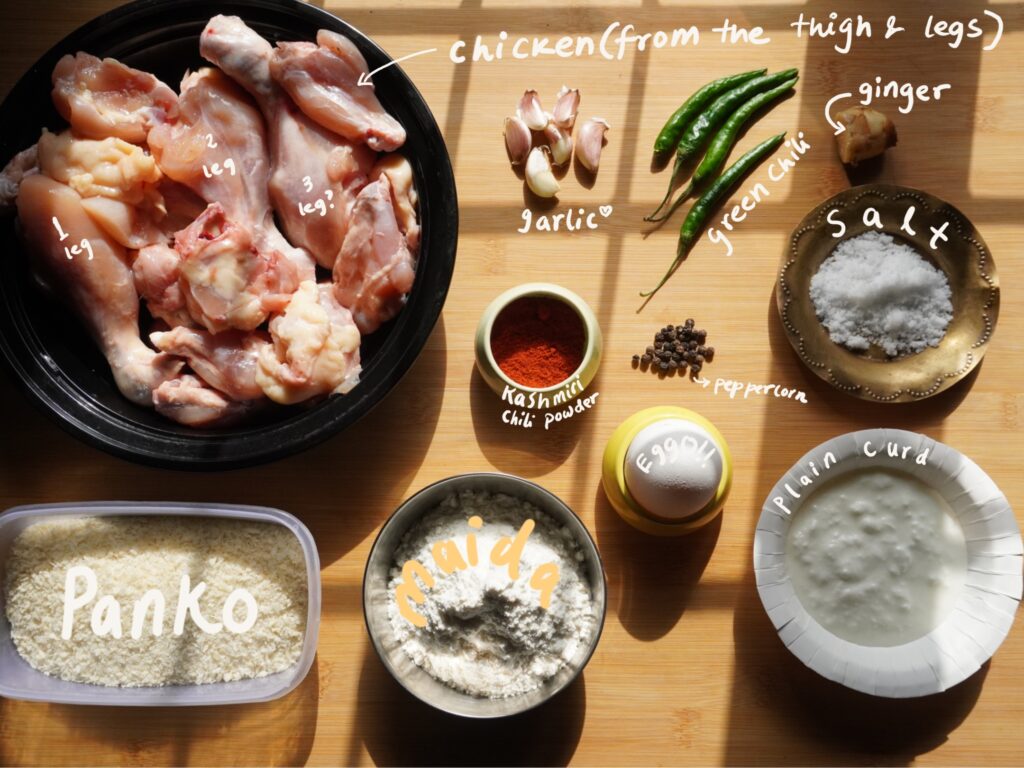
For the Brine :
- Chicken : 800g
- Yoghurt : 1/4 cup or 80g
- Salt : 15g
- Peppercorn : 30
- Ginger : 9g
- Green Chilies : 9g
- Garlic : 10g ~ 6 cloves
- Kashmiri Chili Powder : 1 tbsp
- Water : 1 cup + 1/4 cup
For baking the “fried” Chicken :
- AP flour : 60g ~ 1/2 cup
- Kashmiri Chili powder : 1 tbsp
- Hot Chili powder : 1 tsp
- Black Pepper : 1/4 tsp
- Salt : 1 tsp
- Egg : 1 medium- large
- Water : 4 tbsp
- Panko : 1 cup + 1/2 cup ~ 99g
- Oil : 1 tbsp (Optional)
Instructions
Additional tips to help you :
- Meat from the thighs, legs and shoulder/wings work best for this recipe. If you are working with meat from the breast, then, reduce the baking time accordingly. It tends to get very dry.
- If you have excess chicken fat, do not it away. Fat attached to chicken gives it an extra crispiness. I ask my butcher to not cut off the good fat from the chicken legs and thighs. It tastes exactly like fried chicken.
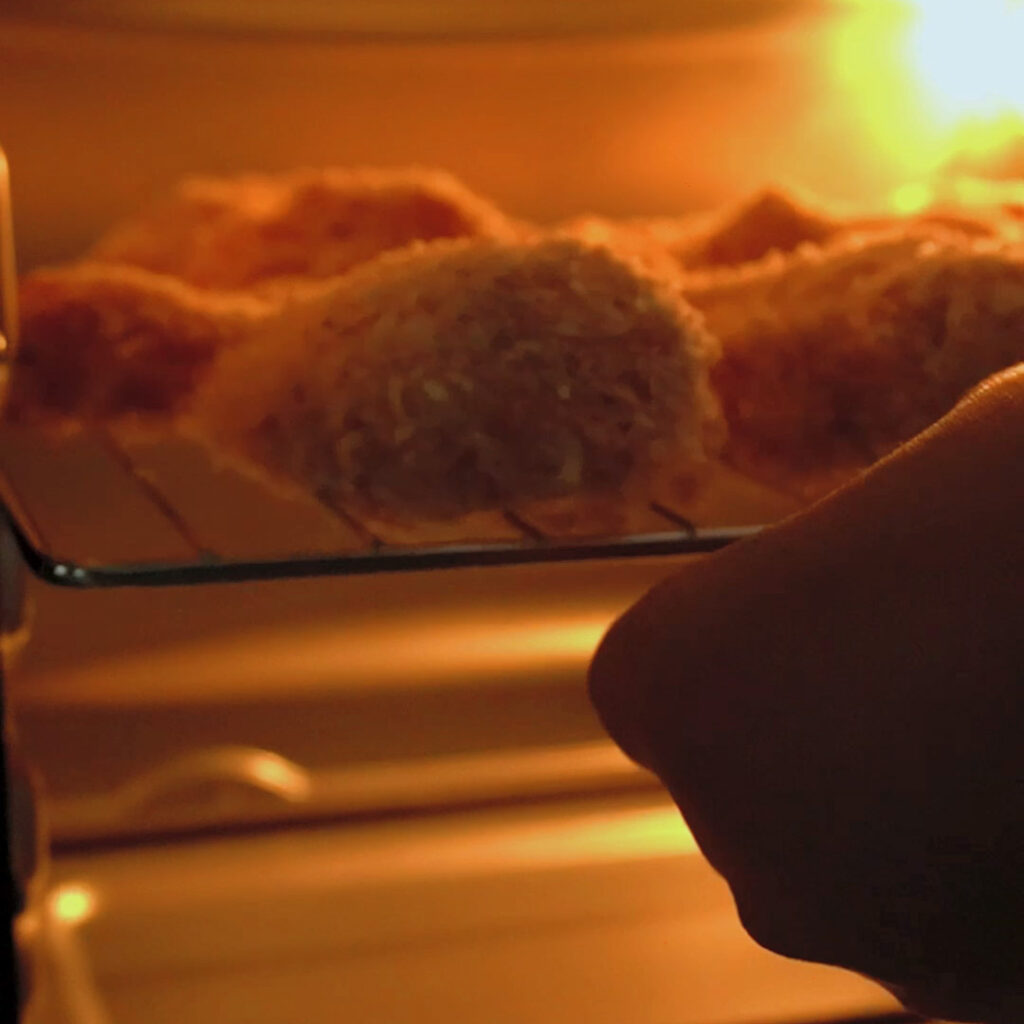
- I use a 30L OTG. And for this fried chicken, I always place the rack on the top most shelf so that it gets a good amount of heat.
- Crispiness of the the chicken depends on how much of the brine you drain out. It is best to let the brines water drain away. But don’t squeeze the chicken to get rid of the brine.
Instructions :
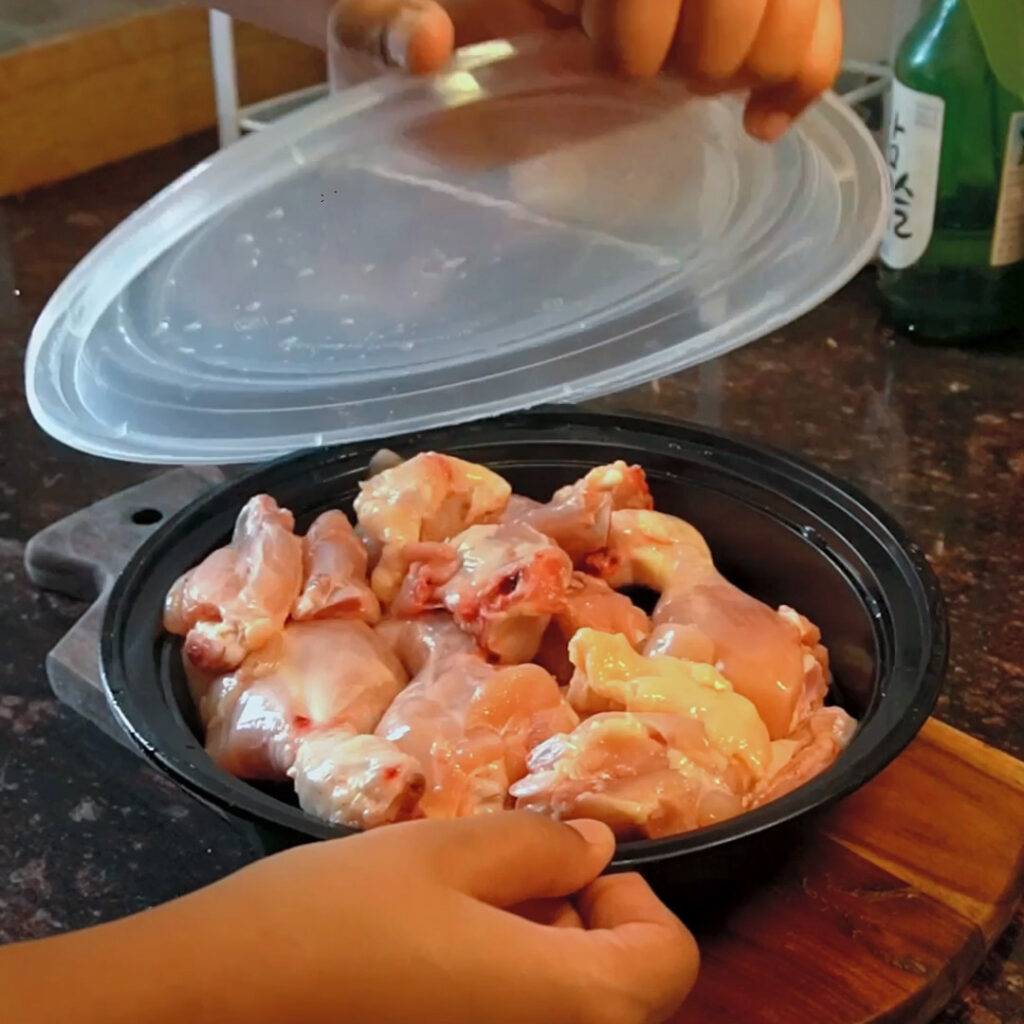
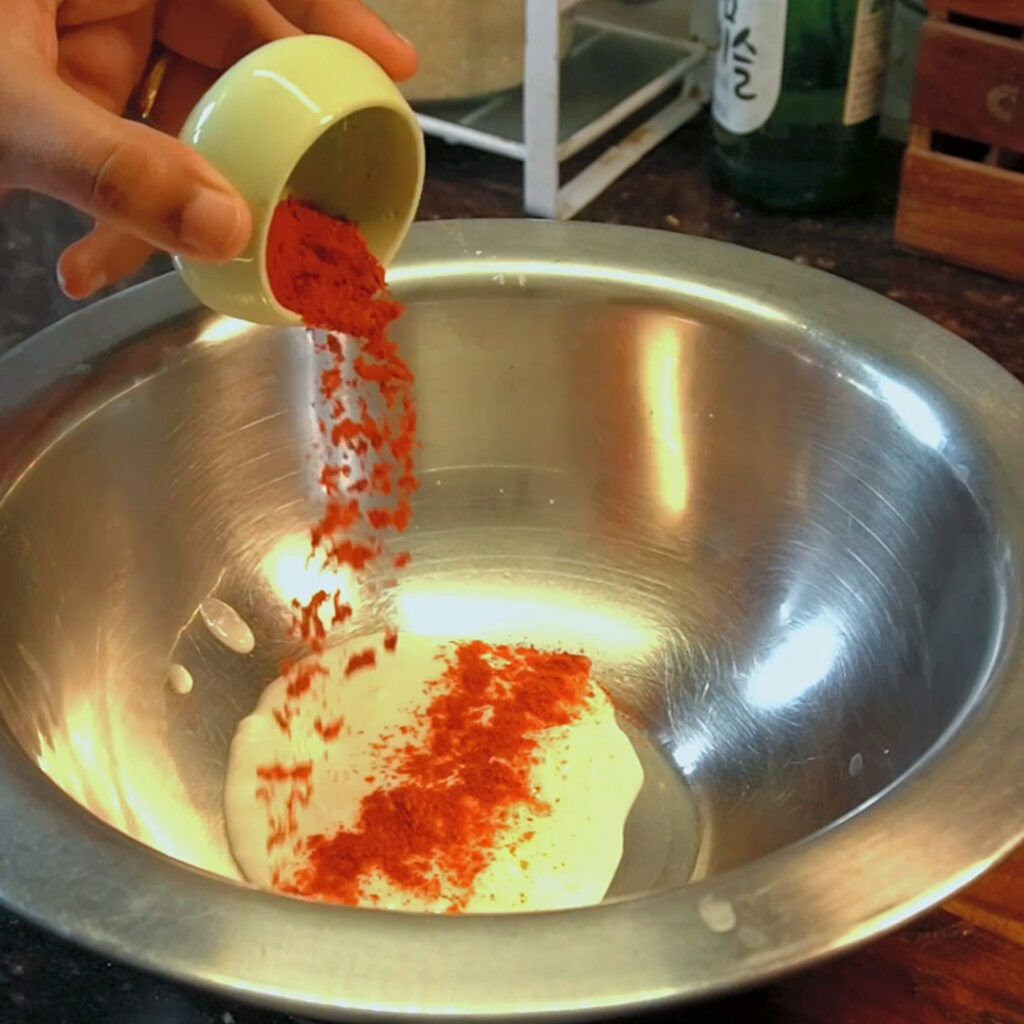
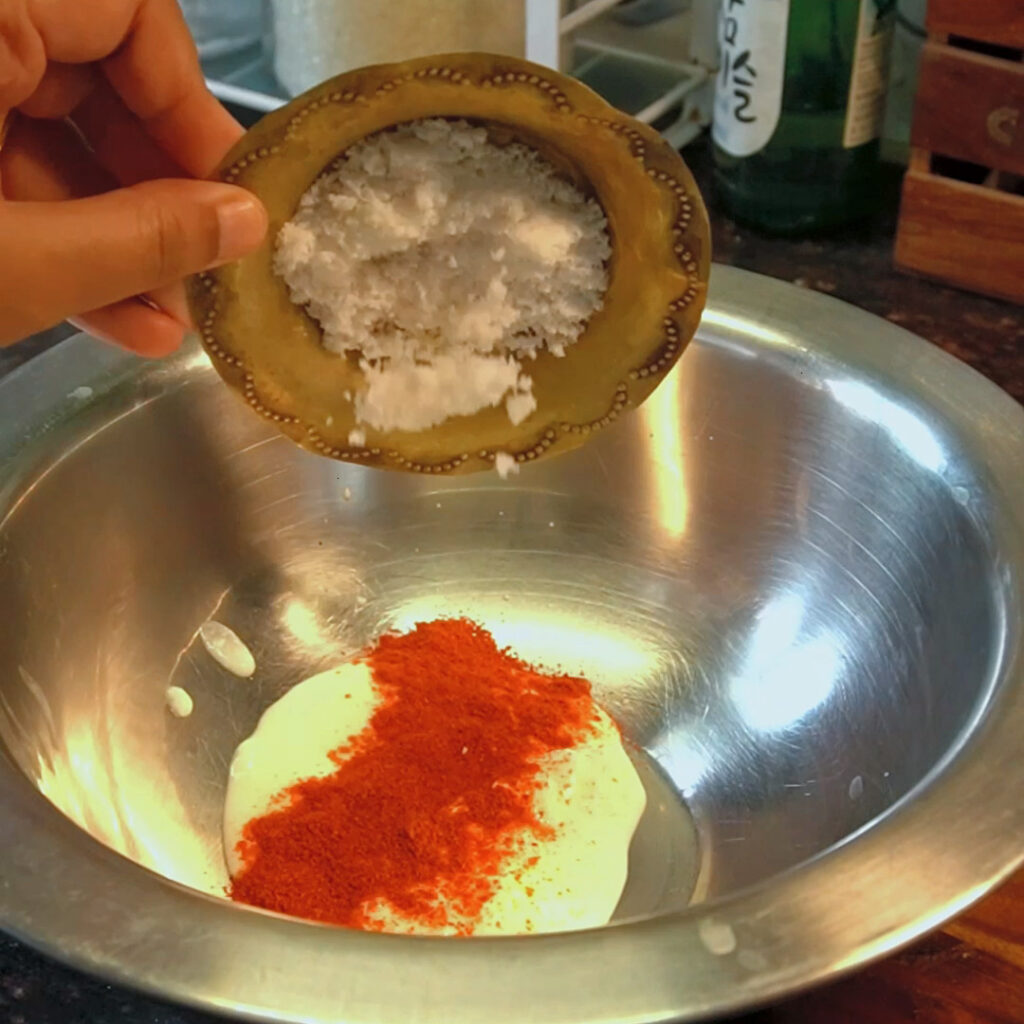
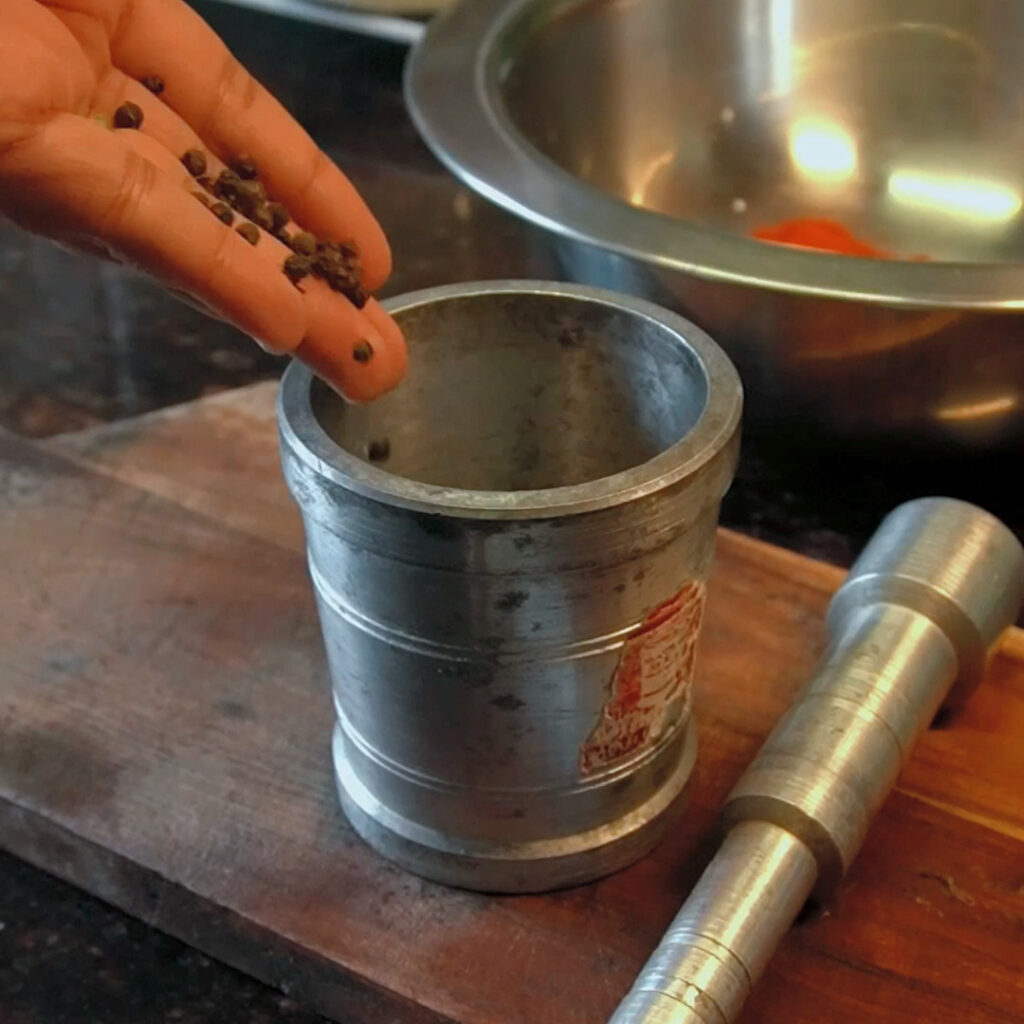
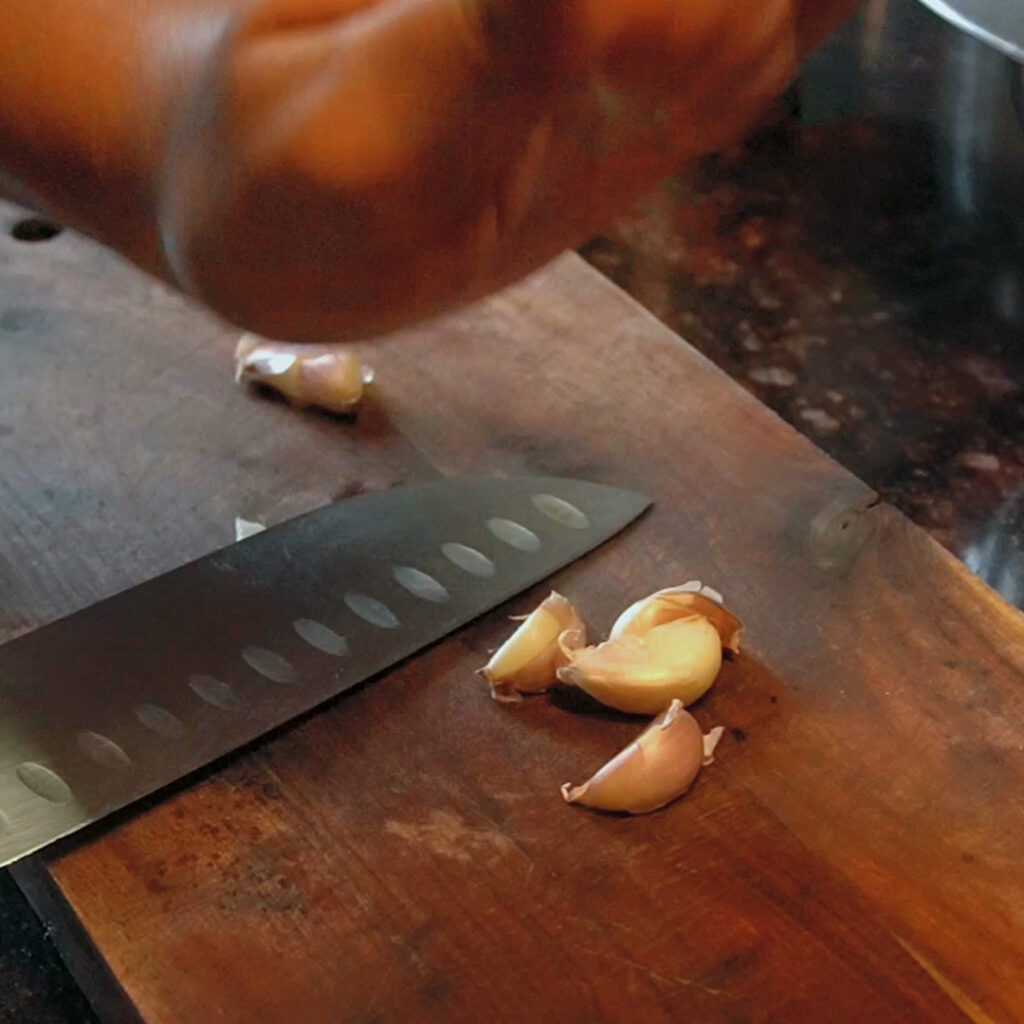
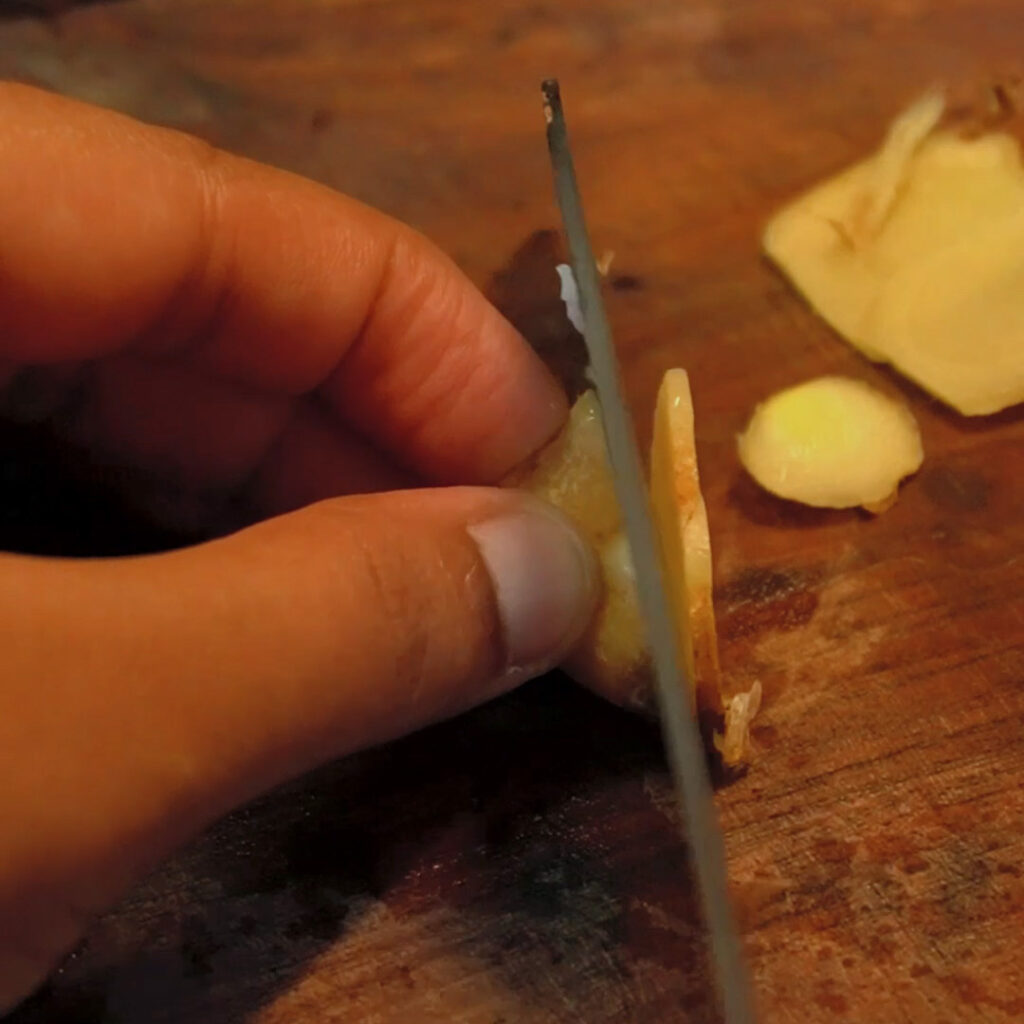
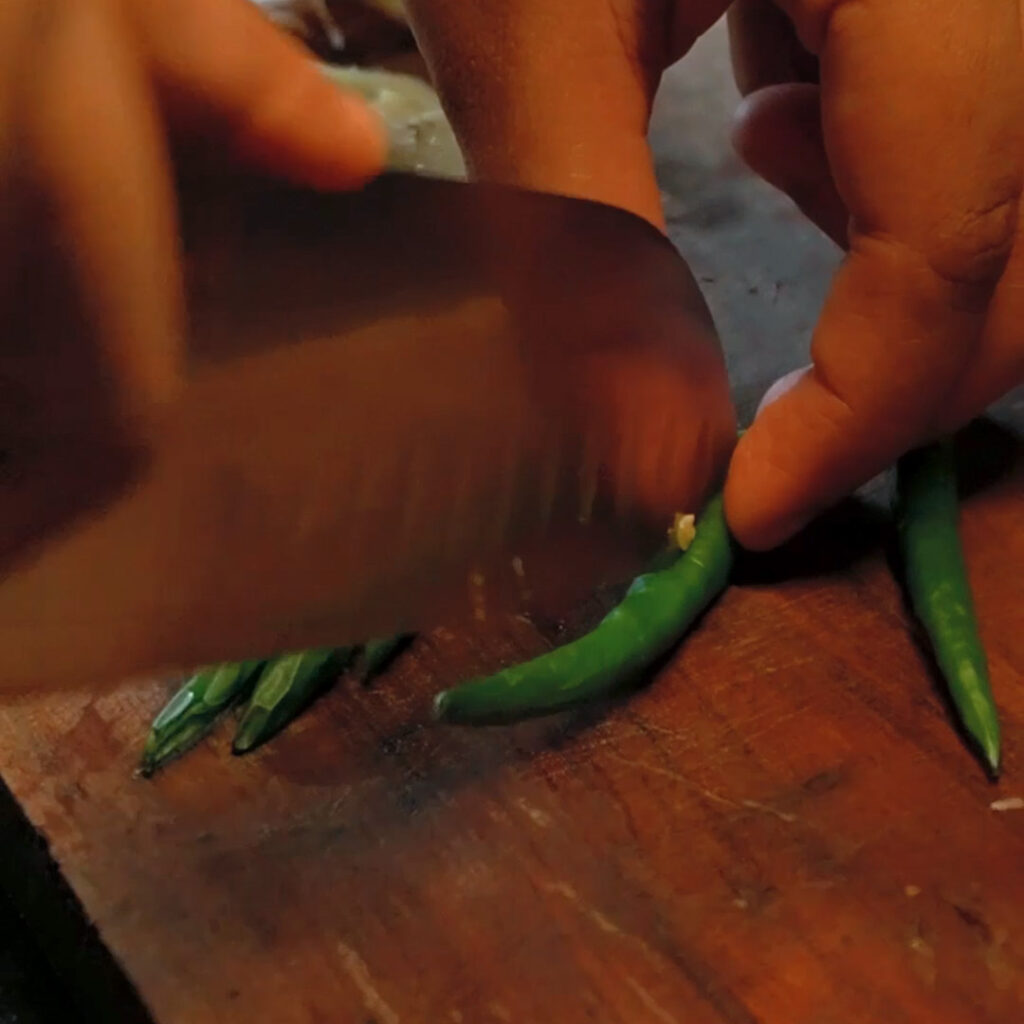
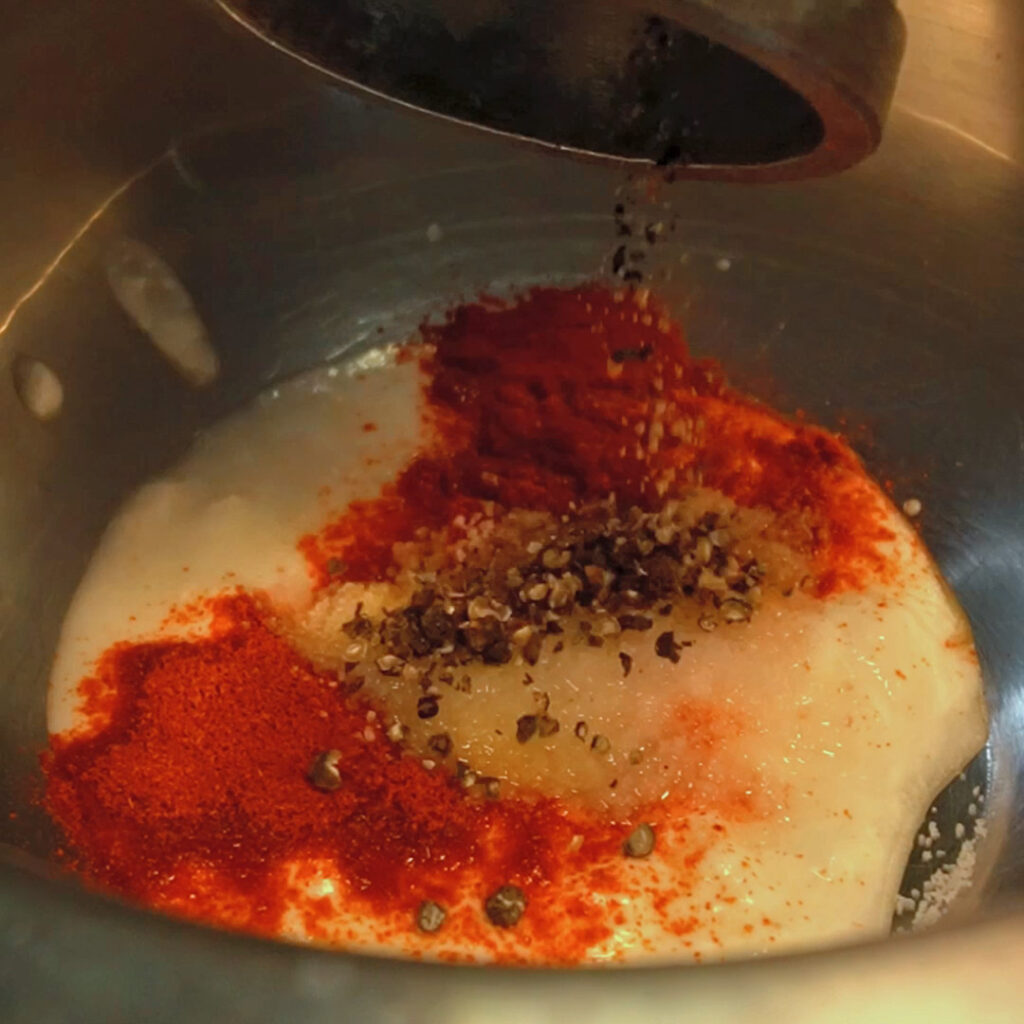
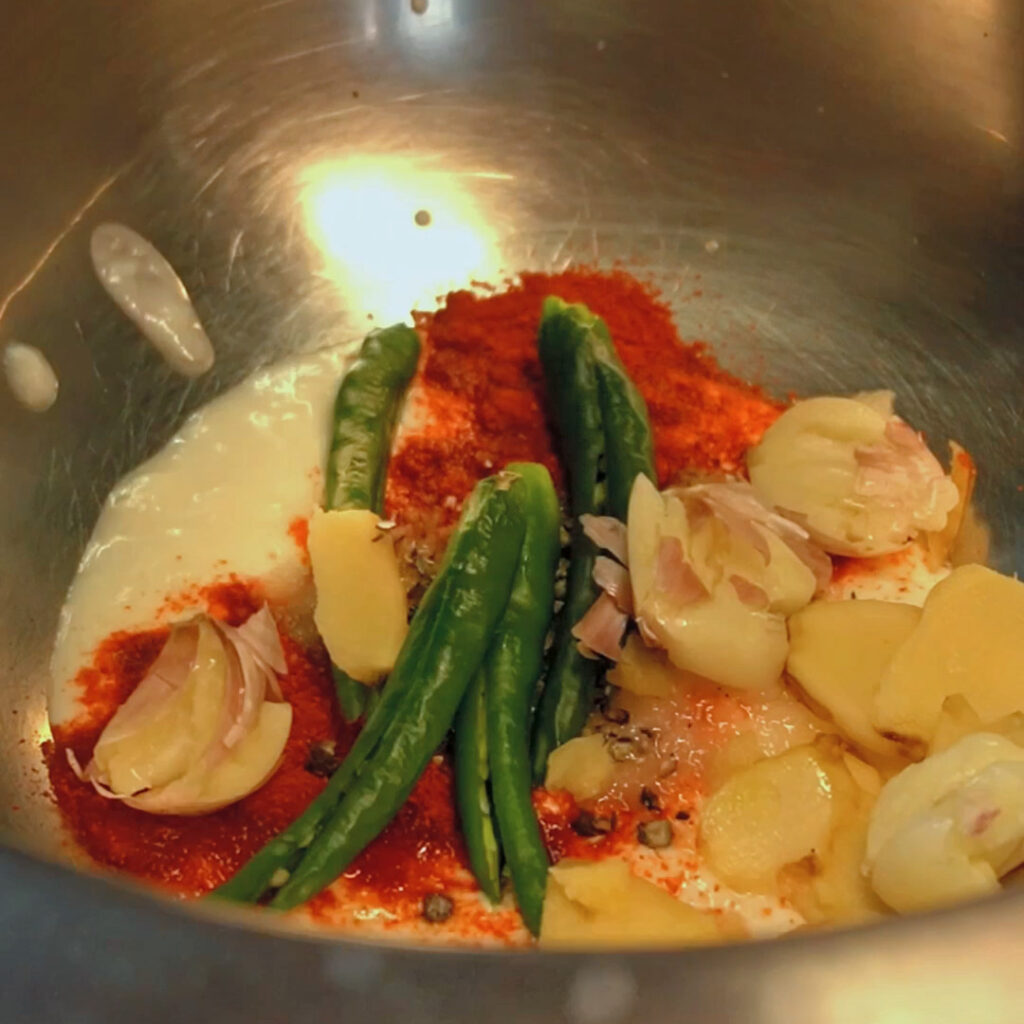
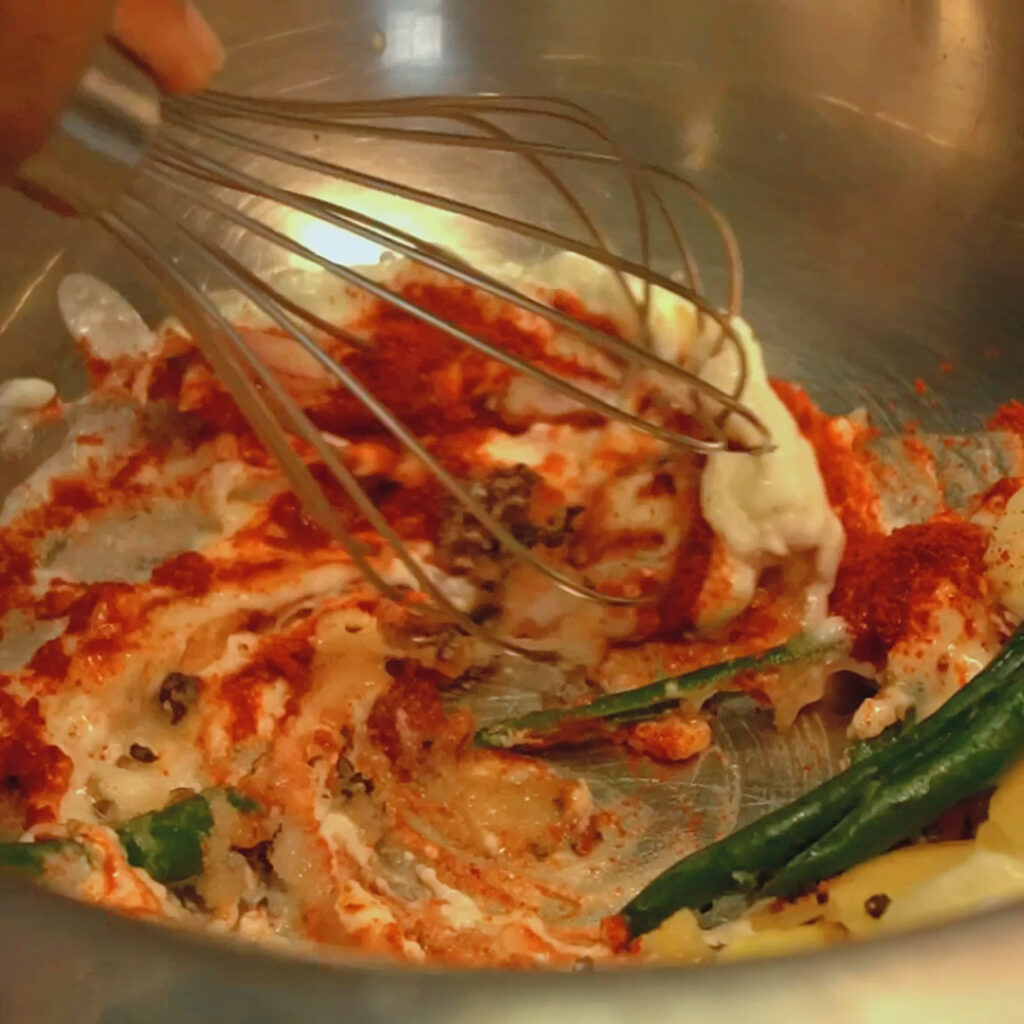
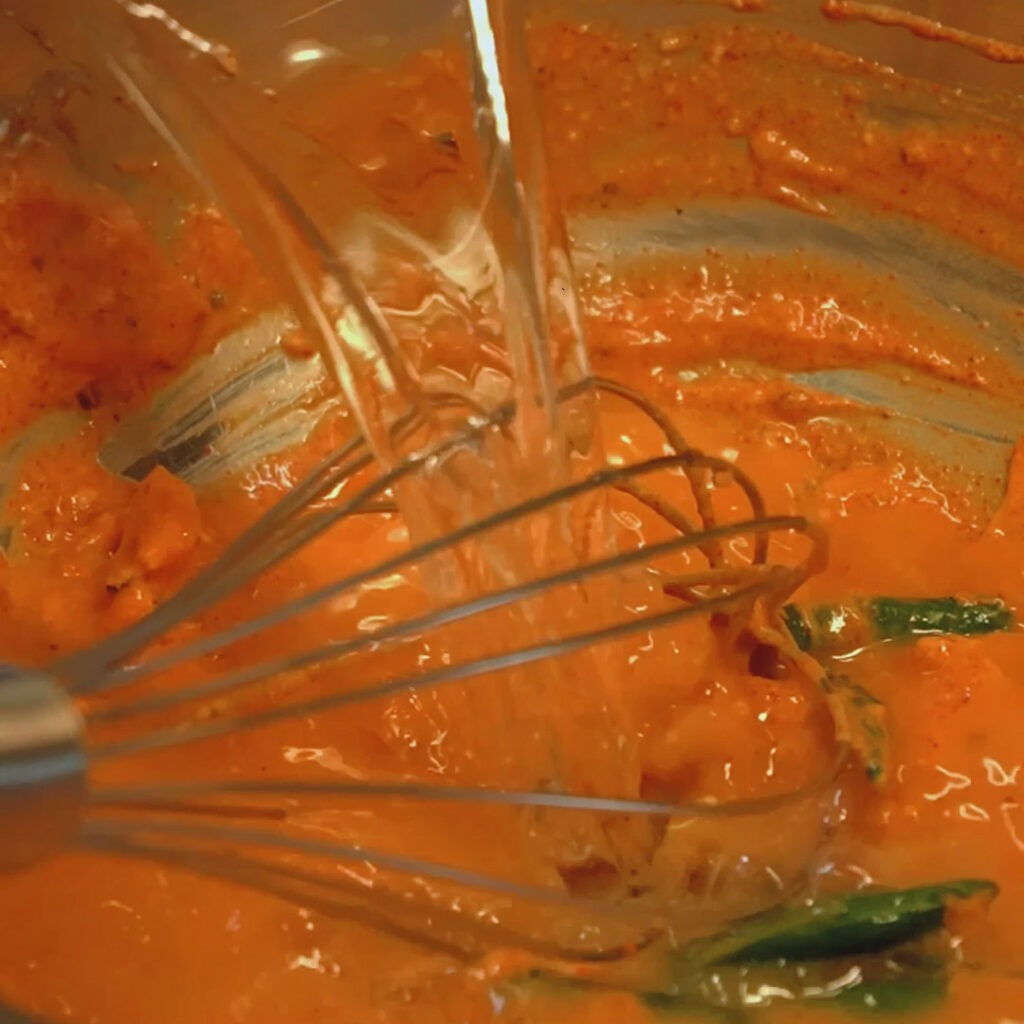
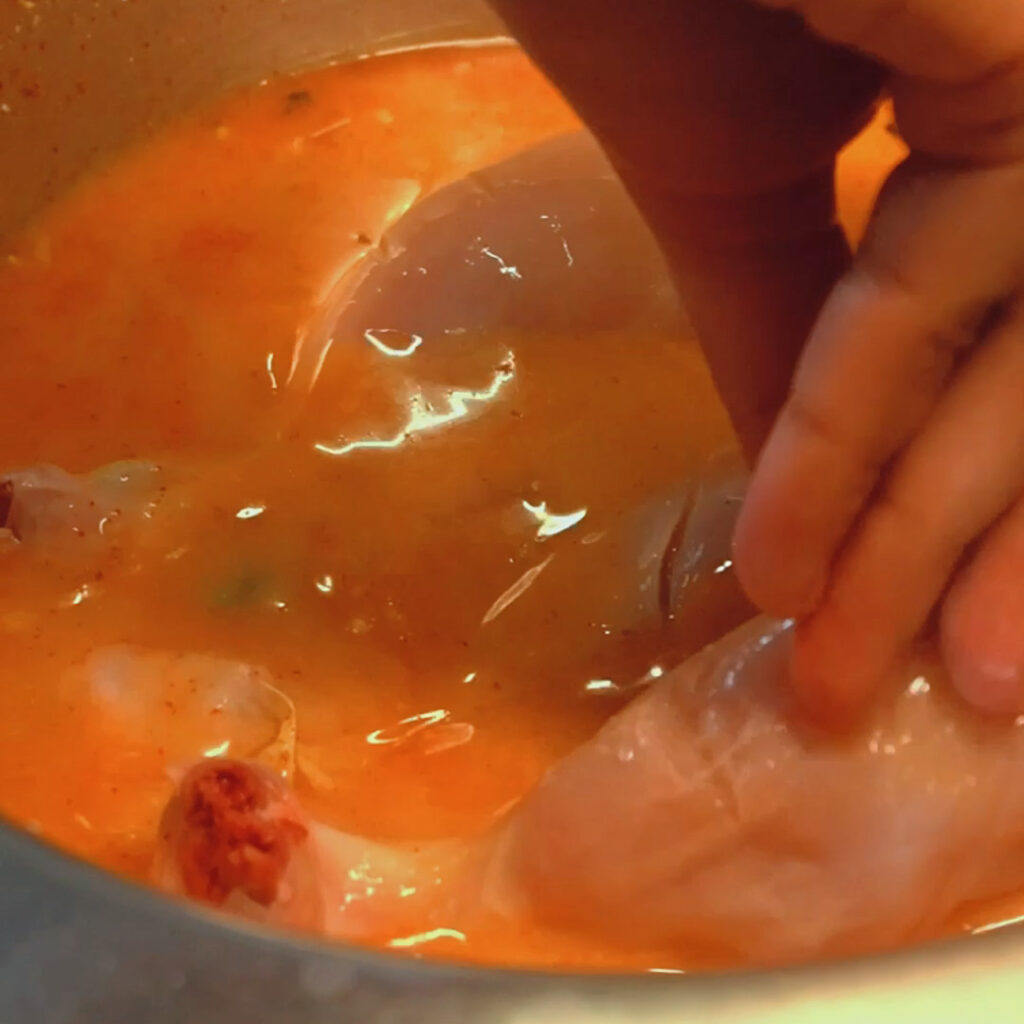
- Prepare The brine : Add Plain yoghurt, salt, Kashmiri chili powder, peppercorns, smashed garlic cloves, sliced and smashed ginger, and slit green chilies. Add water. Mix well, and make sure the salt is completely dissolved.
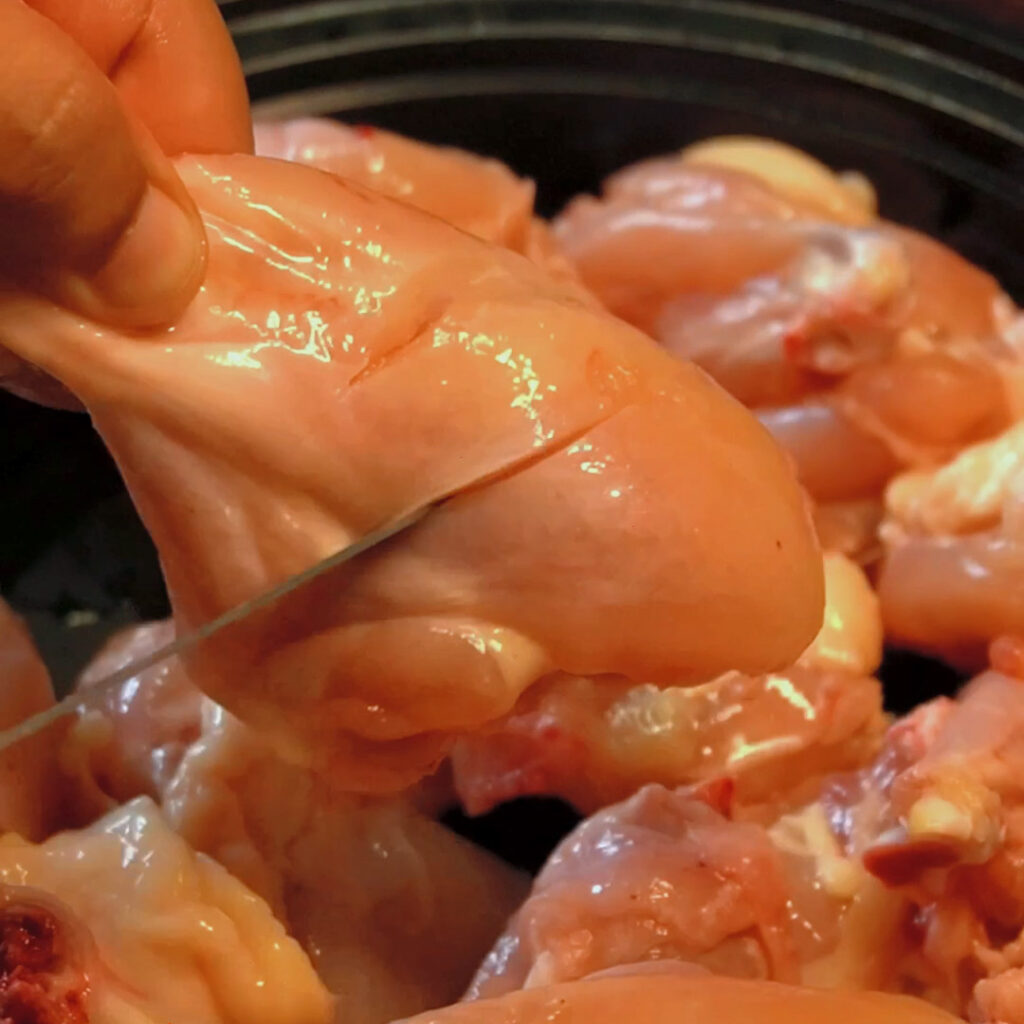
- Score larger pieces of chicken.
- Place the chicken pieces into the brine bowl. Cover and marinade for 2-3 hours. I marinaded for 3 hours, and I wouldn’t recommend going over 3 hours for this recipe.
- Drain the brine.
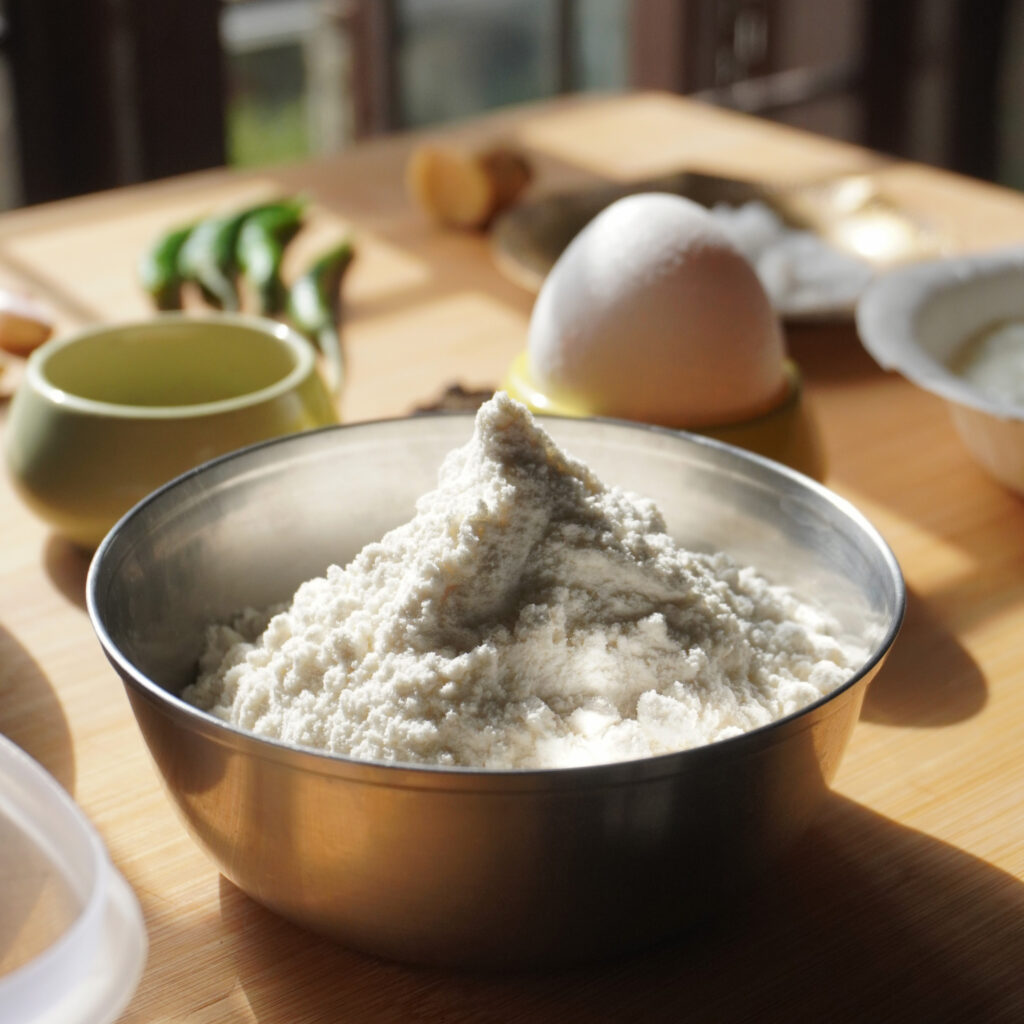
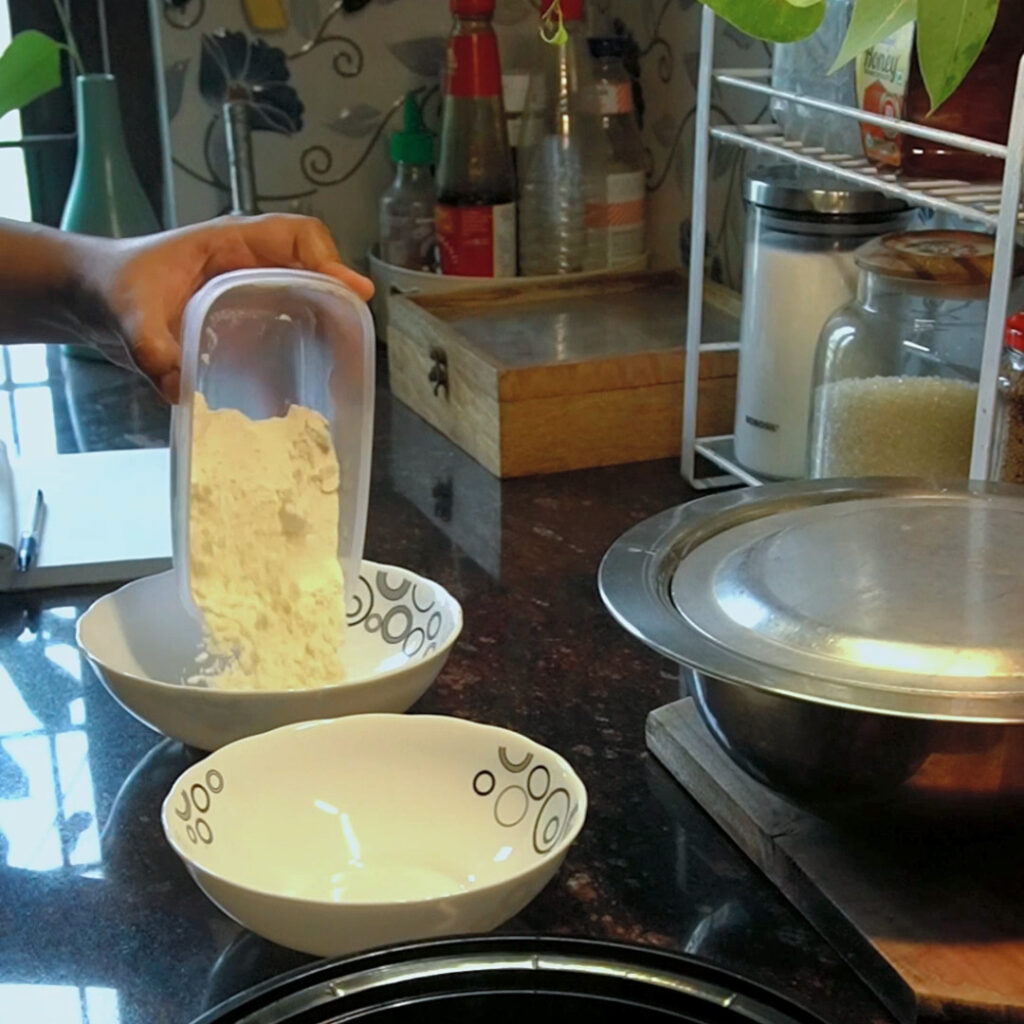
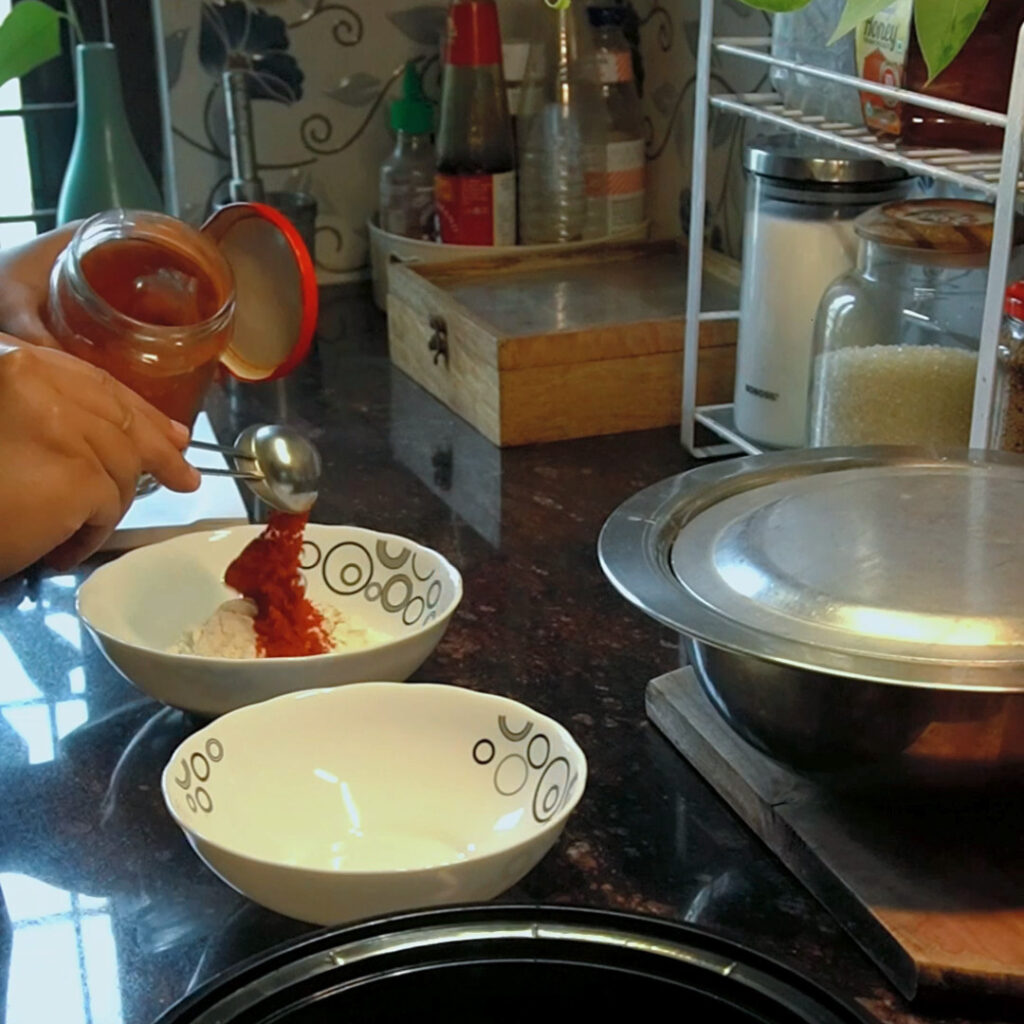
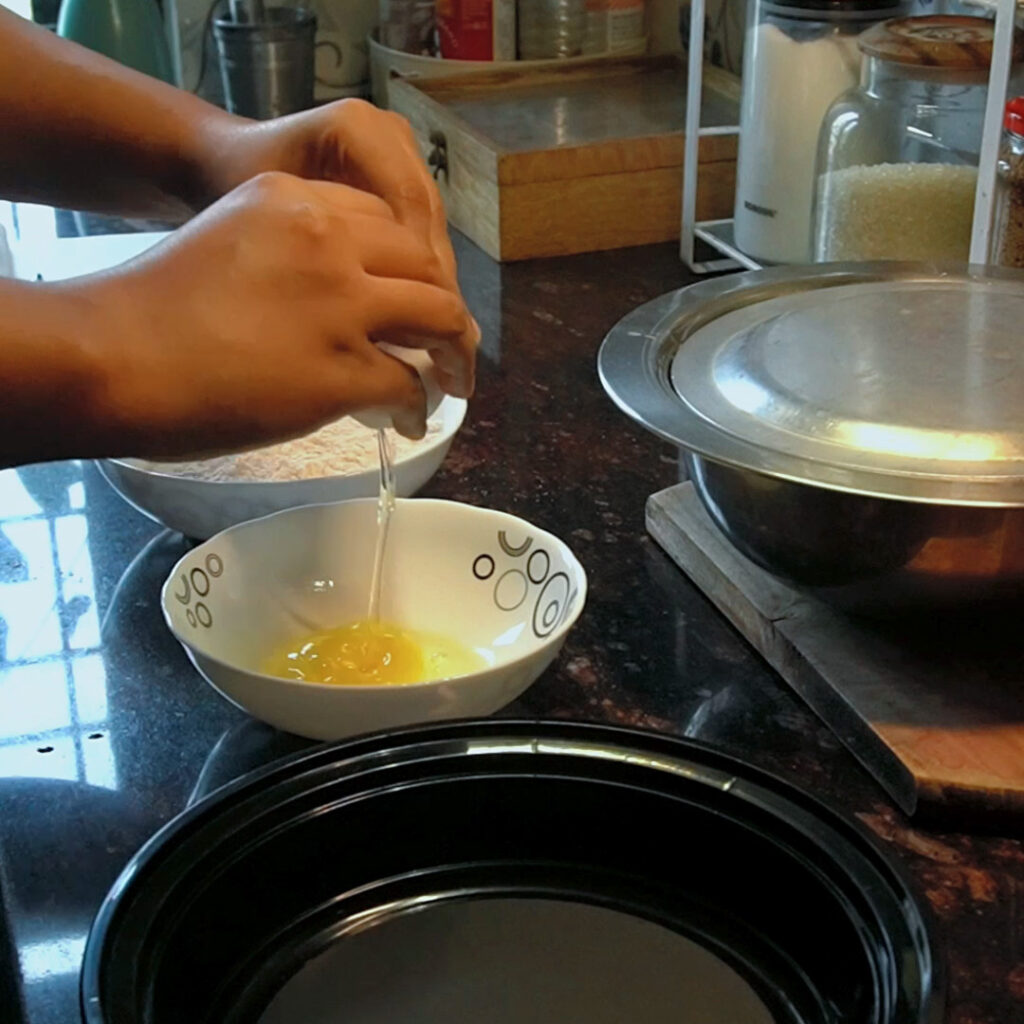
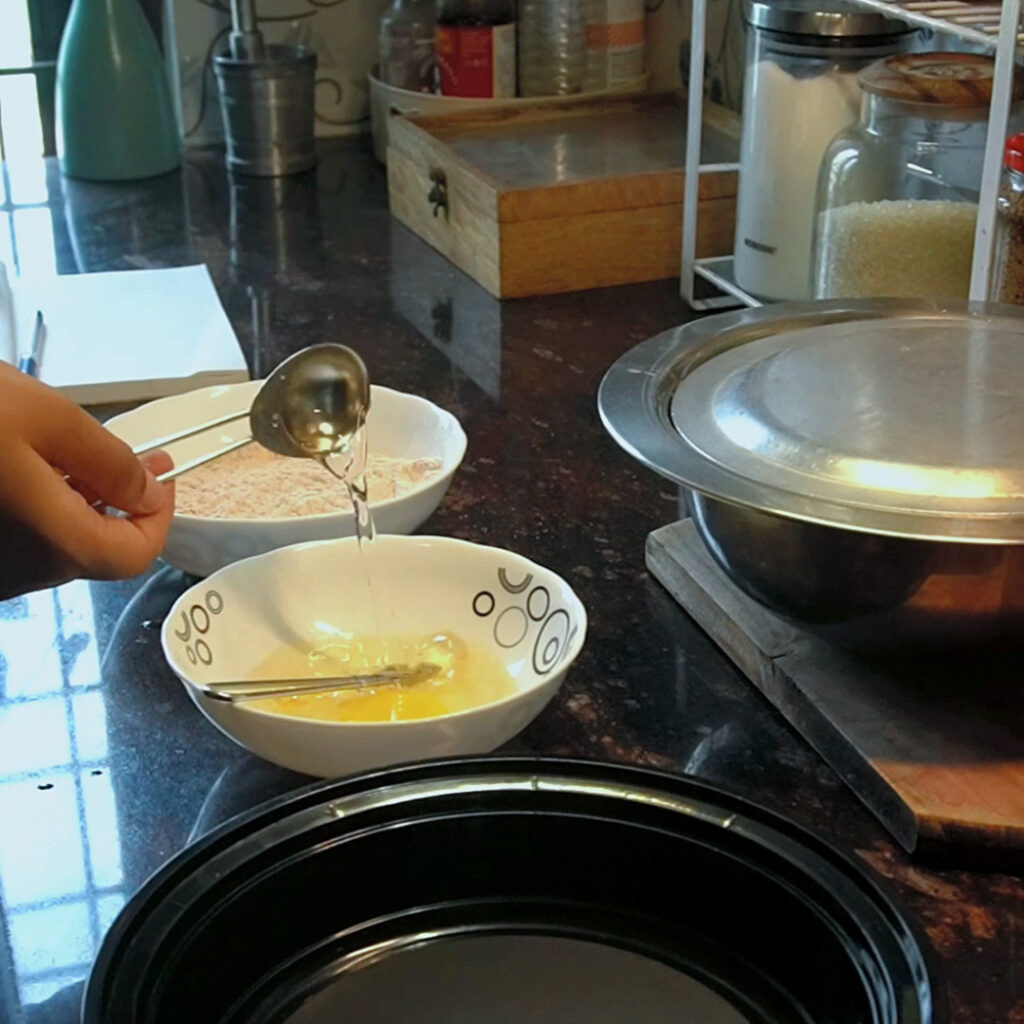
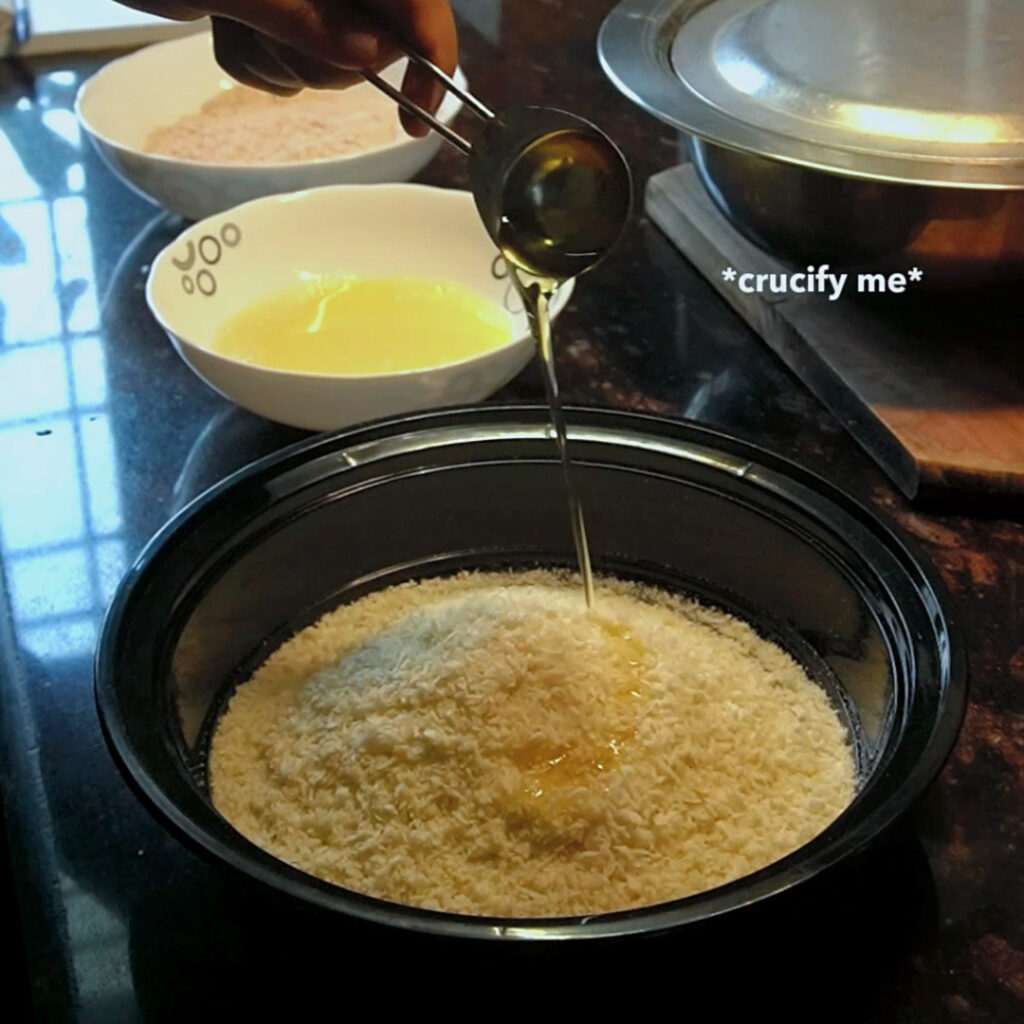
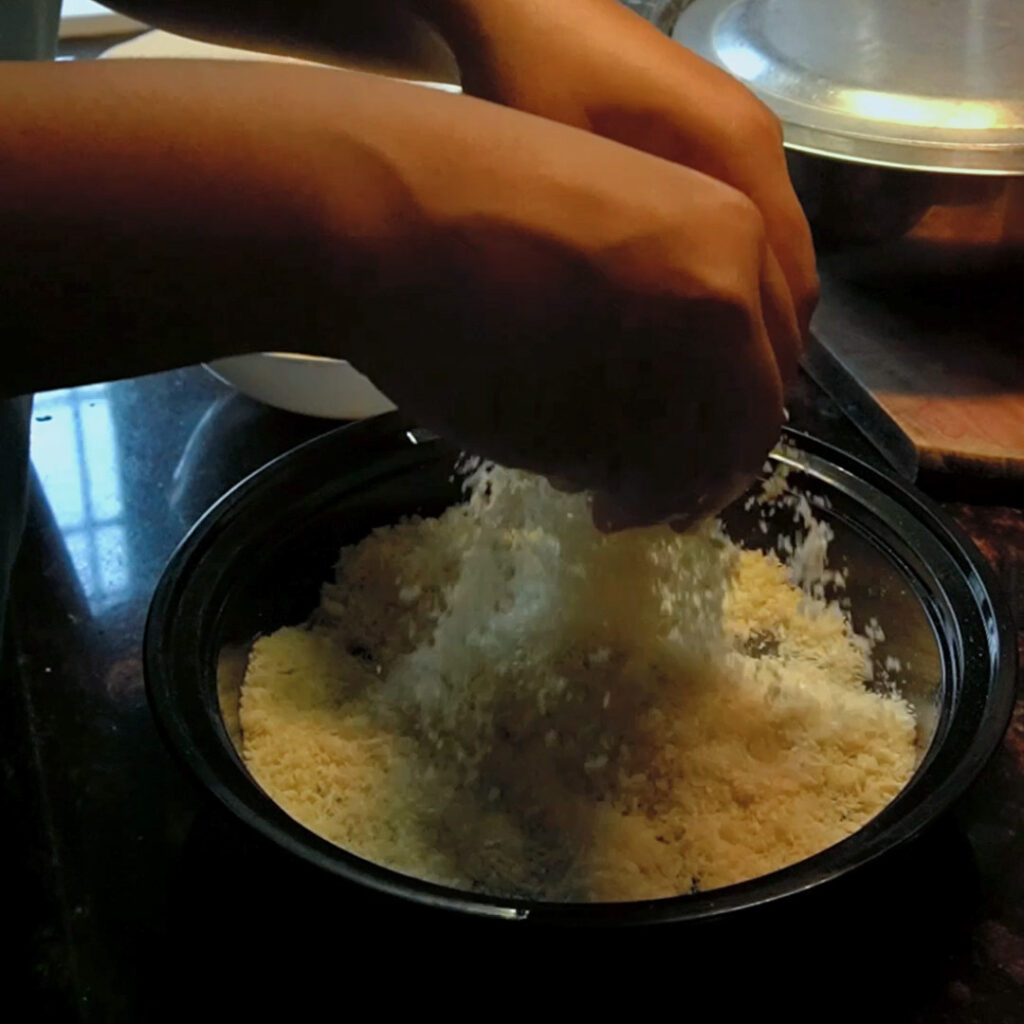
- Take 3 flat bowl : In the first one, add AP flour, 1 tbsp Kashmiri chili powder, 1 tsp hot(teekha) chili powder, and 1/4 tsp black pepper, 1 tsp salt and mix well. In the 2nd bowl, add 1 egg and 4 tbsp of water and mix well. In the third bowl, add Panko and 1tbsp oil. [NB – Panko is essential. It plays an essential role in the chicken’s crunchiness. And the oil is optional. It doesn’t make a huge difference. I still add 1 tbsp while using bigger pieces of chicken and mix it through, so that the Panko doesn’t dry out. I have made it completely oil free, and the Panko doesn’t dry out very much]
- I assign my Left hand dry hand, and my right hand wet hand.
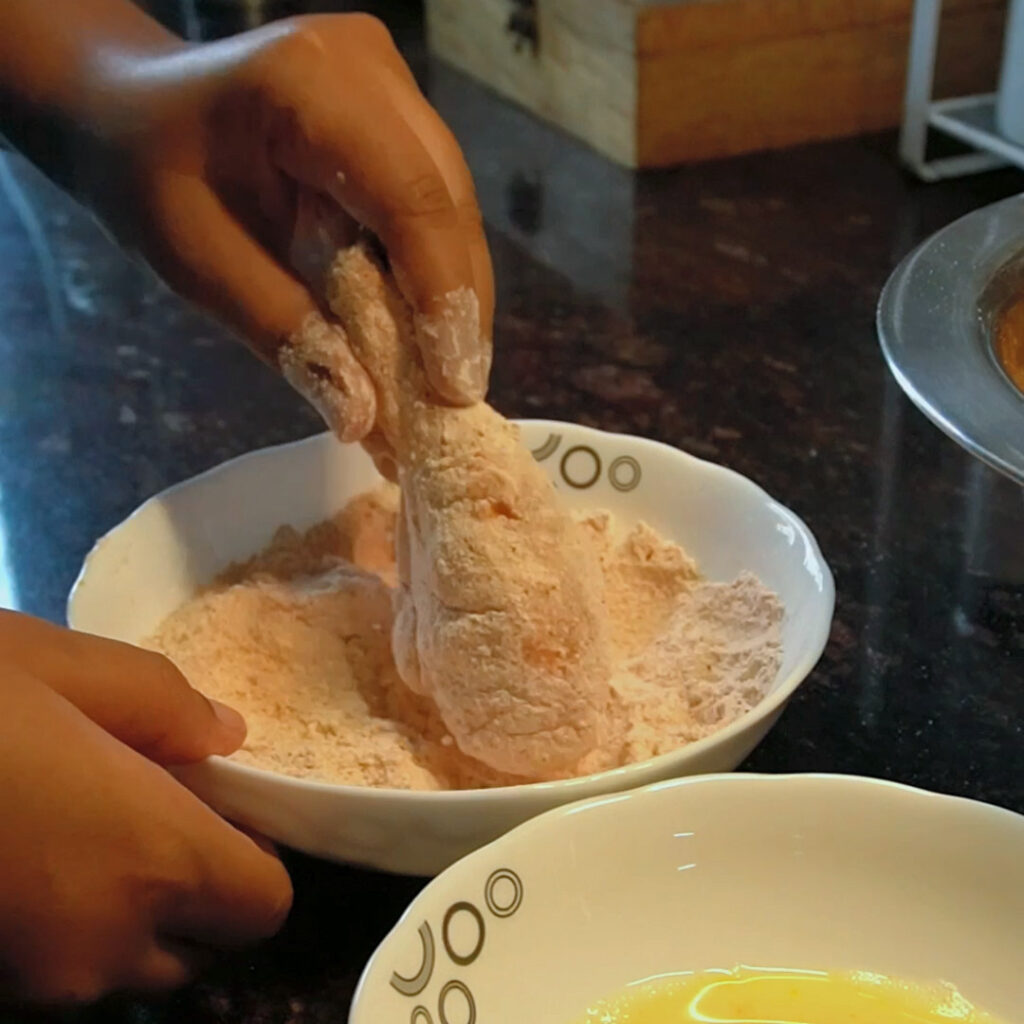
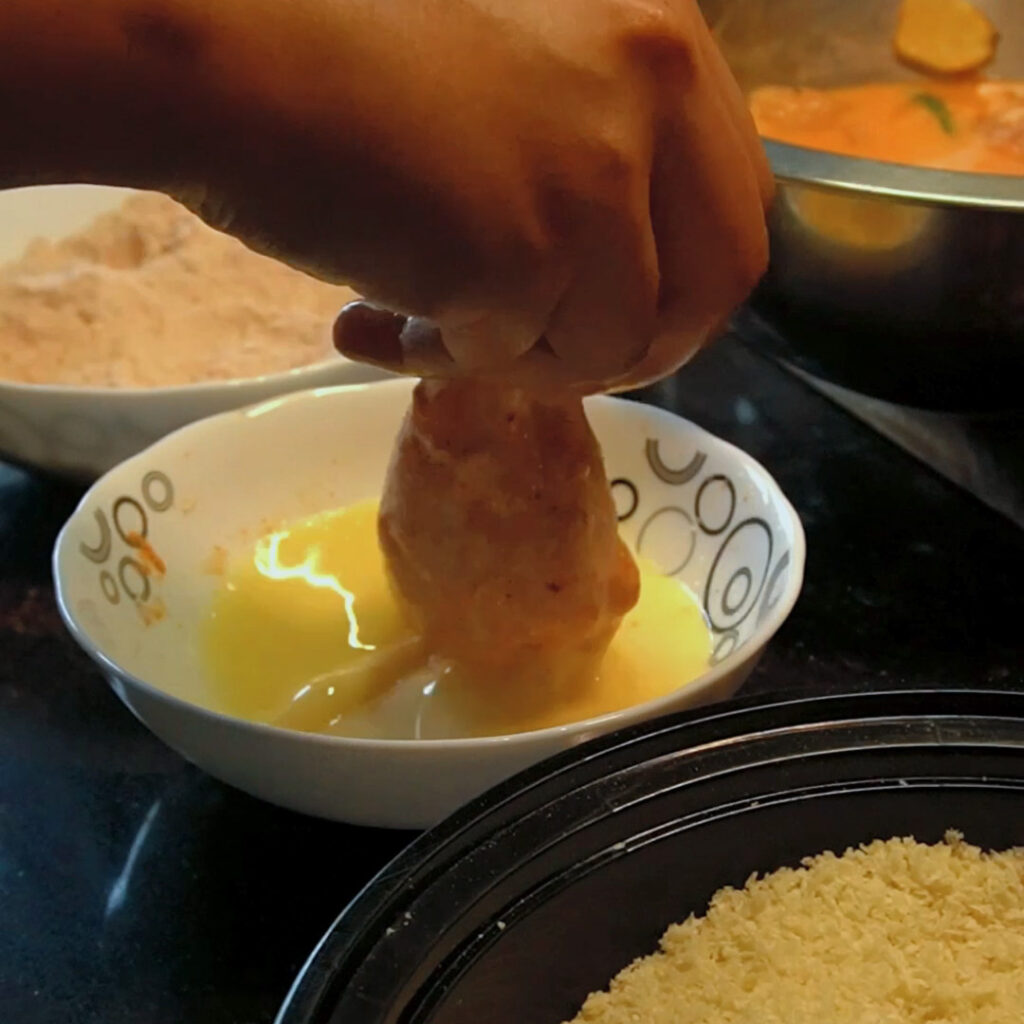
- With my right hand, I will take out a chicken piece out of the brine bowl and place it in the flour dredge. With my left hand I will Coat the whole piece well (it will look like the chicken has skin disorder.Sorry for the description)
- Next, with my left hand I will place the dredged chicken into the egg mixture. With my right hand, I will coat the chicken with the egg mixture and place into the next bowl with panko.
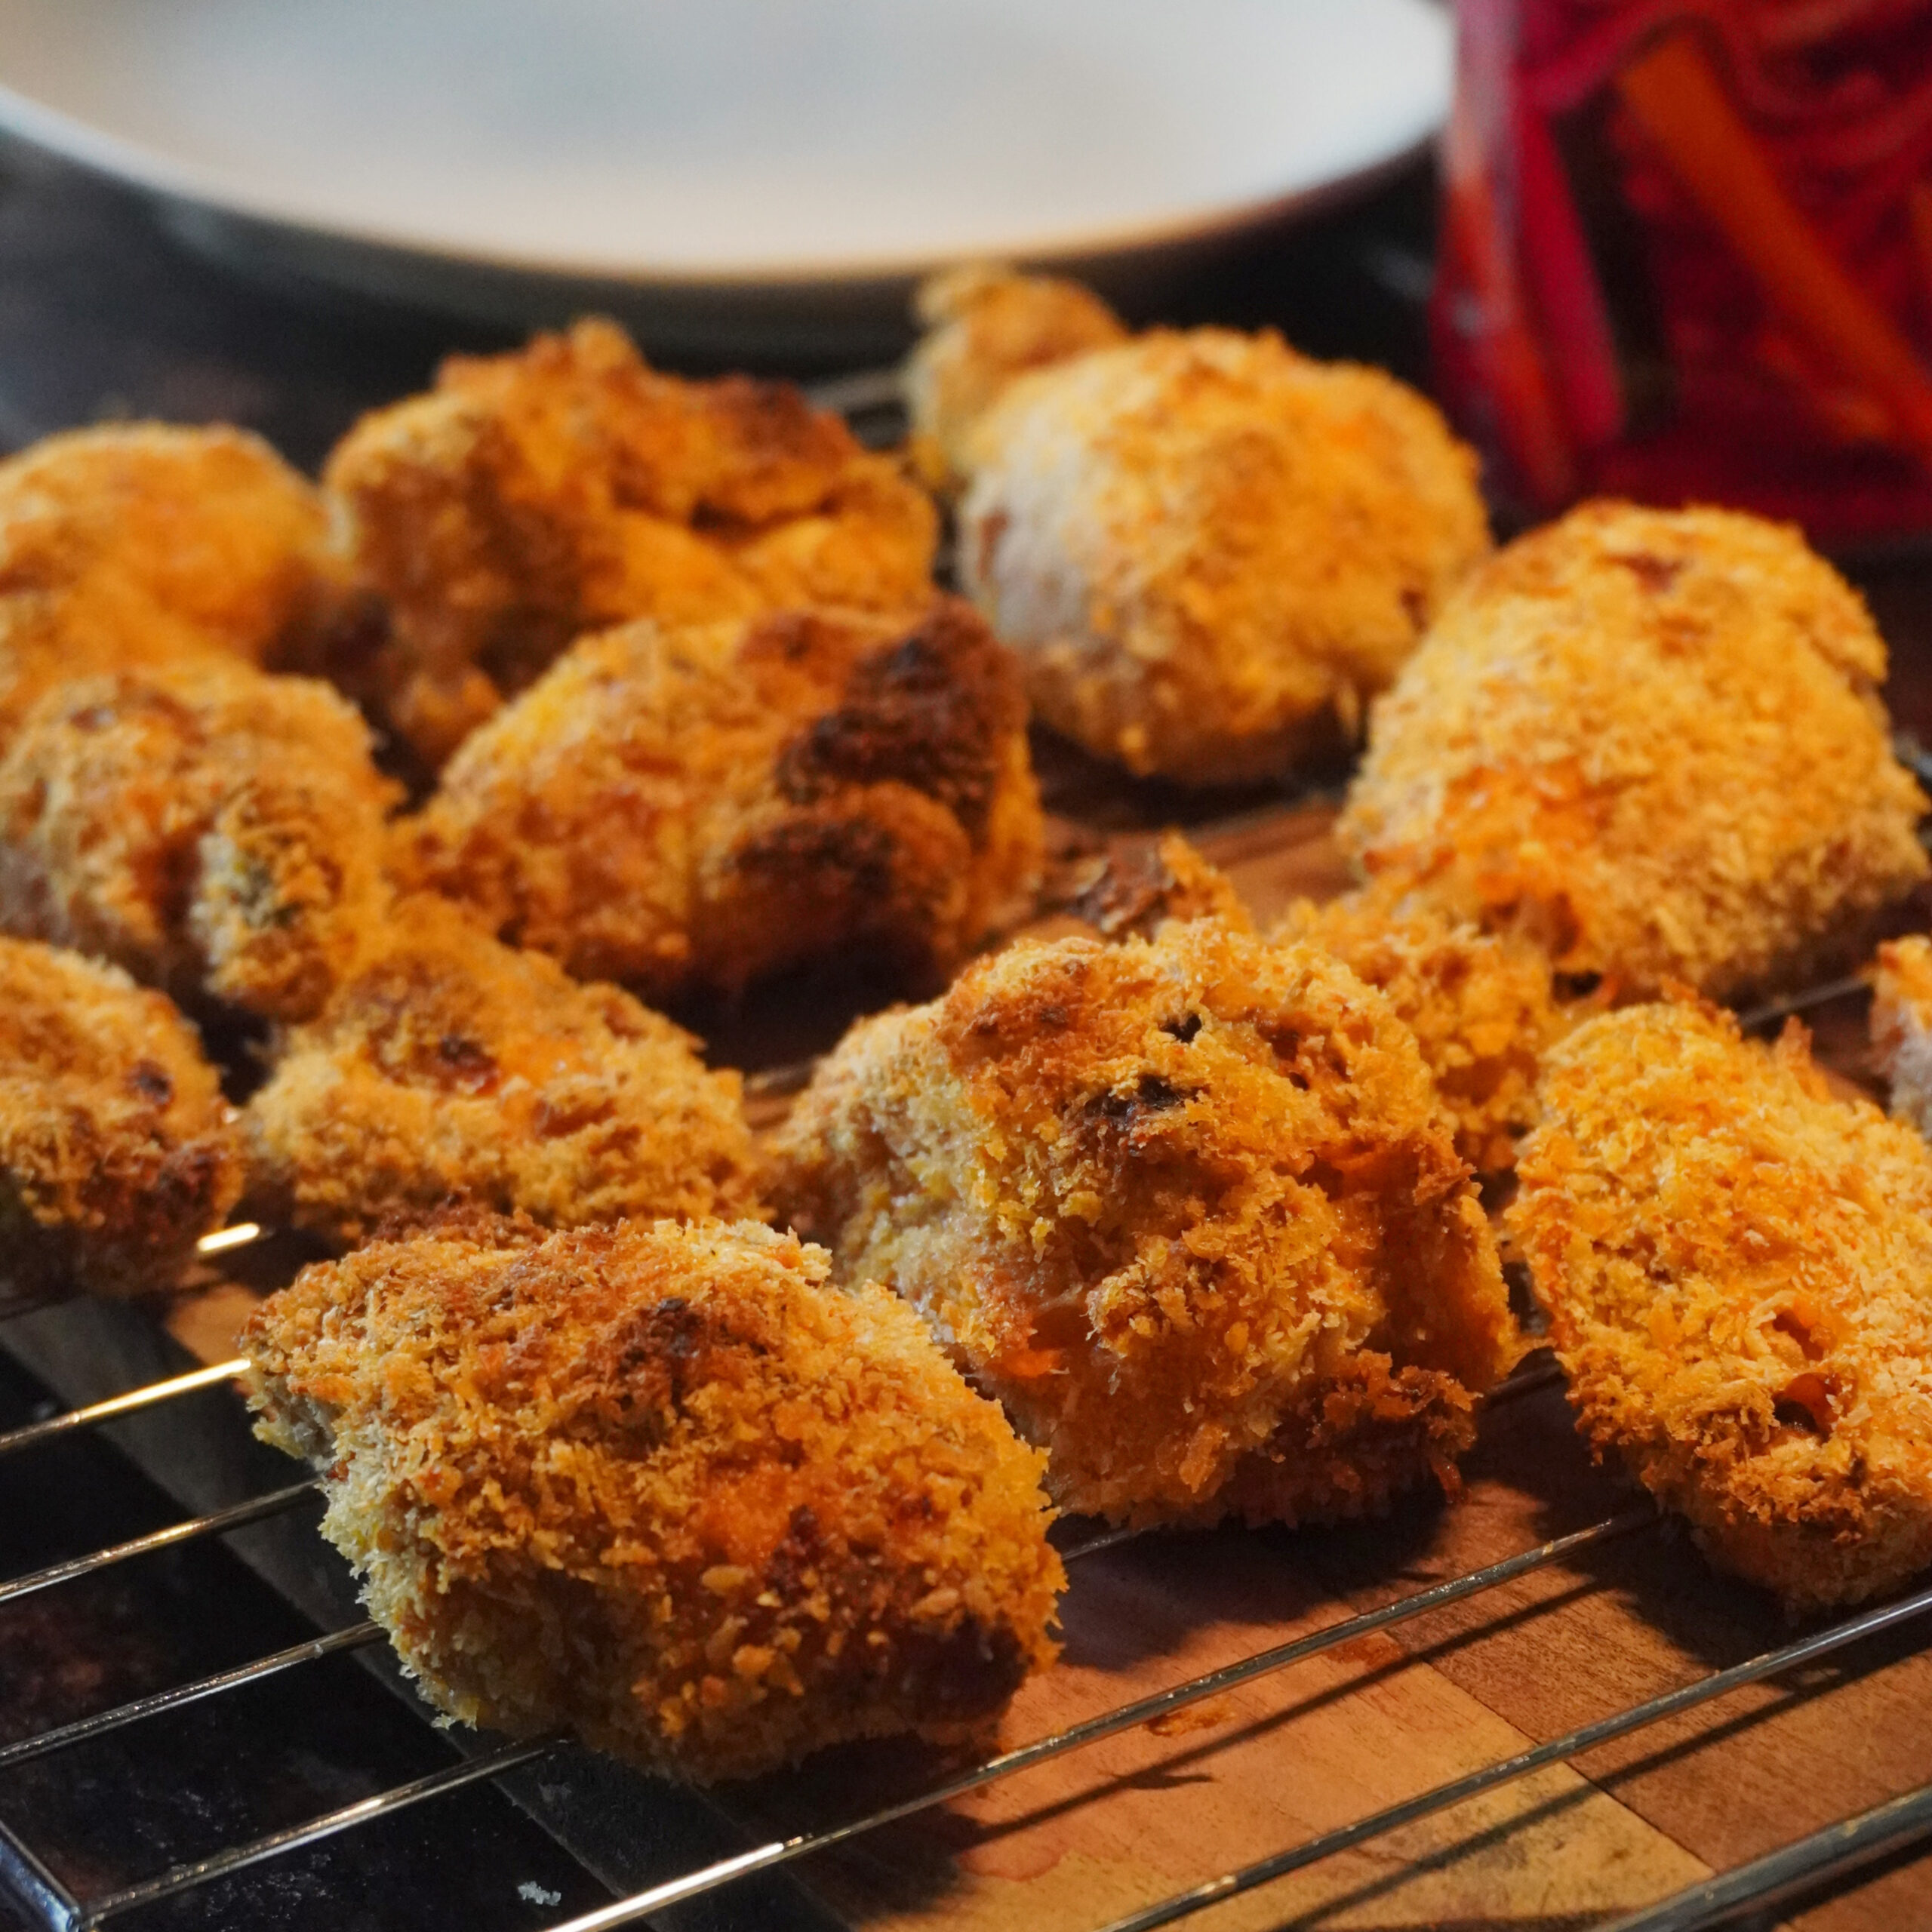
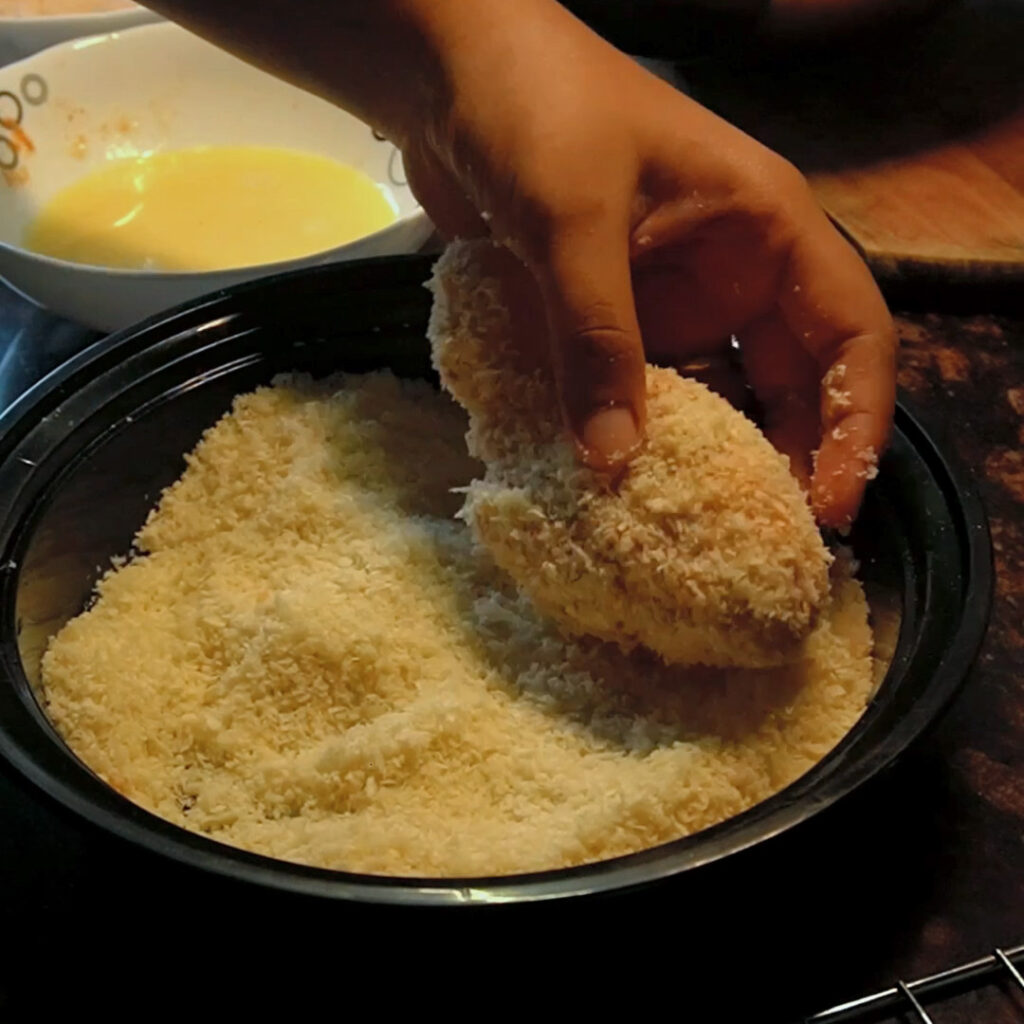
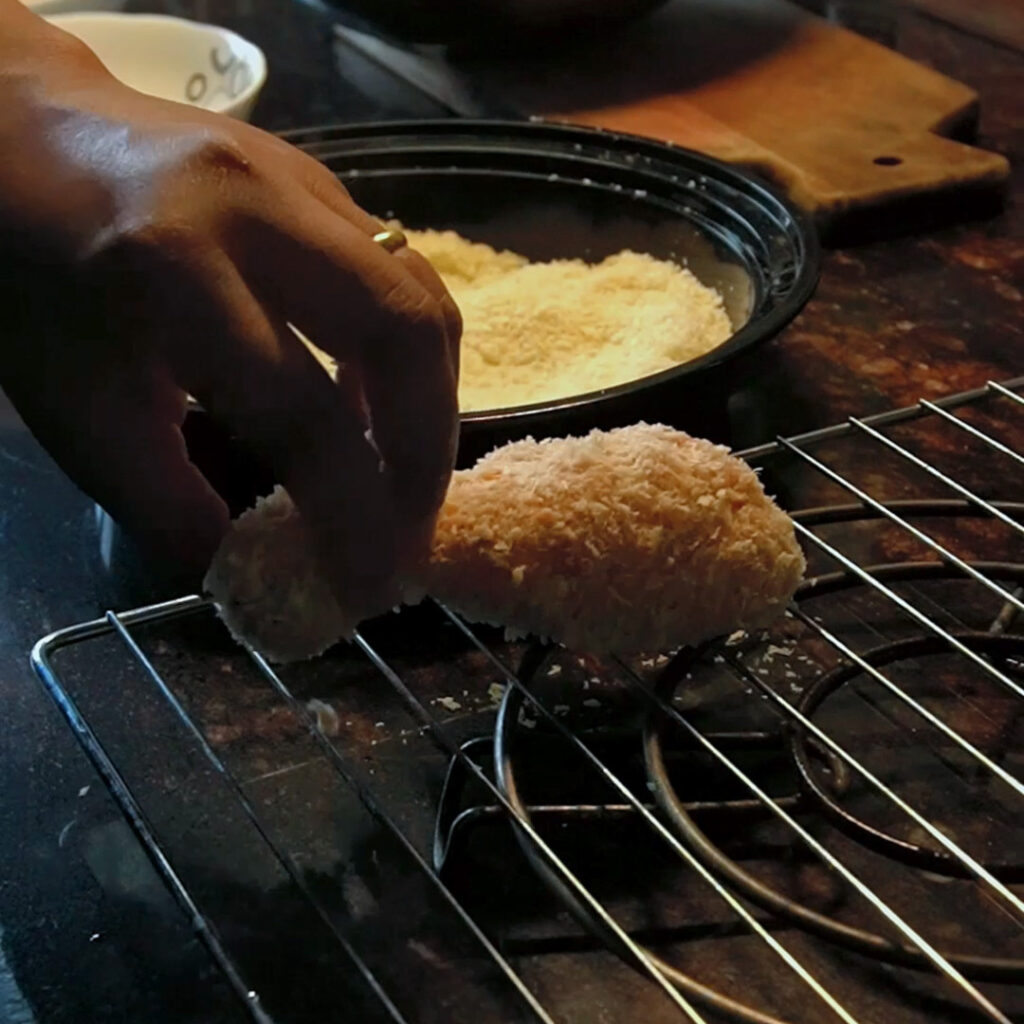
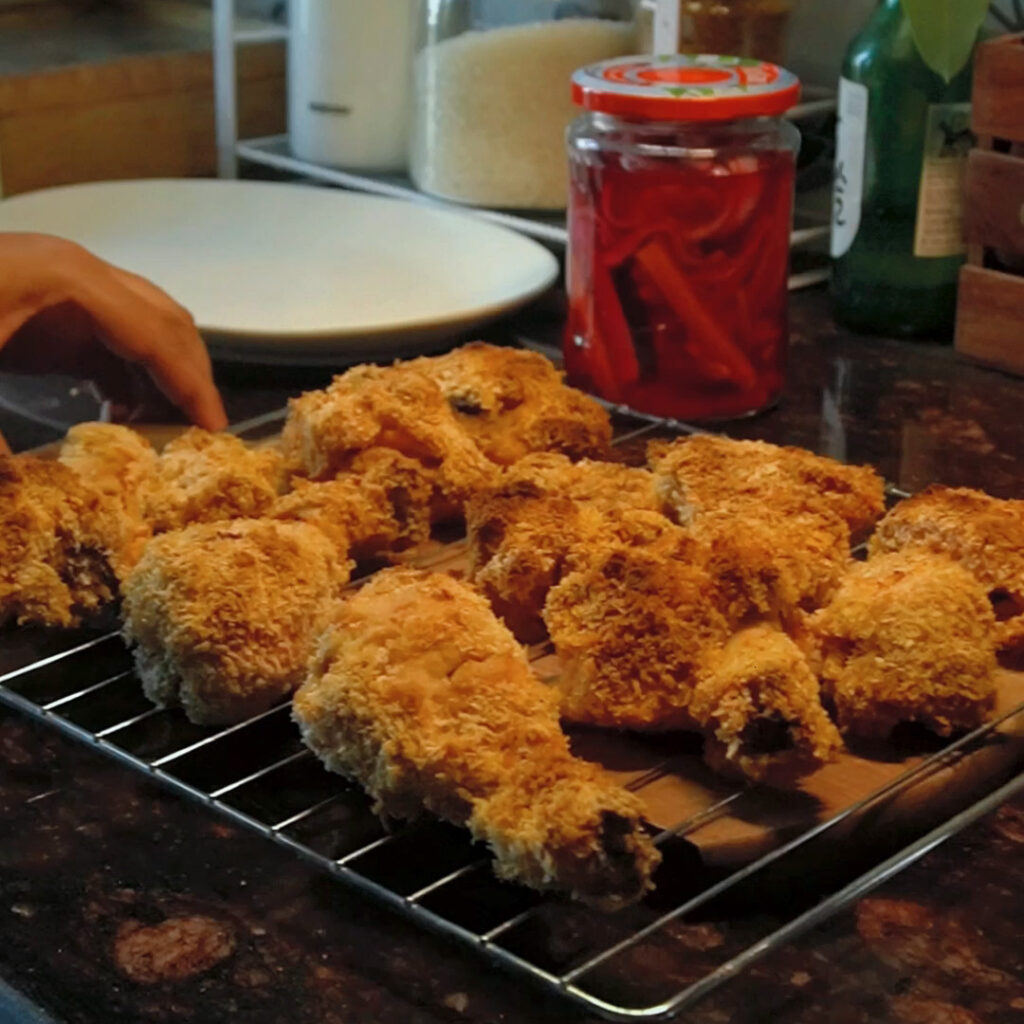
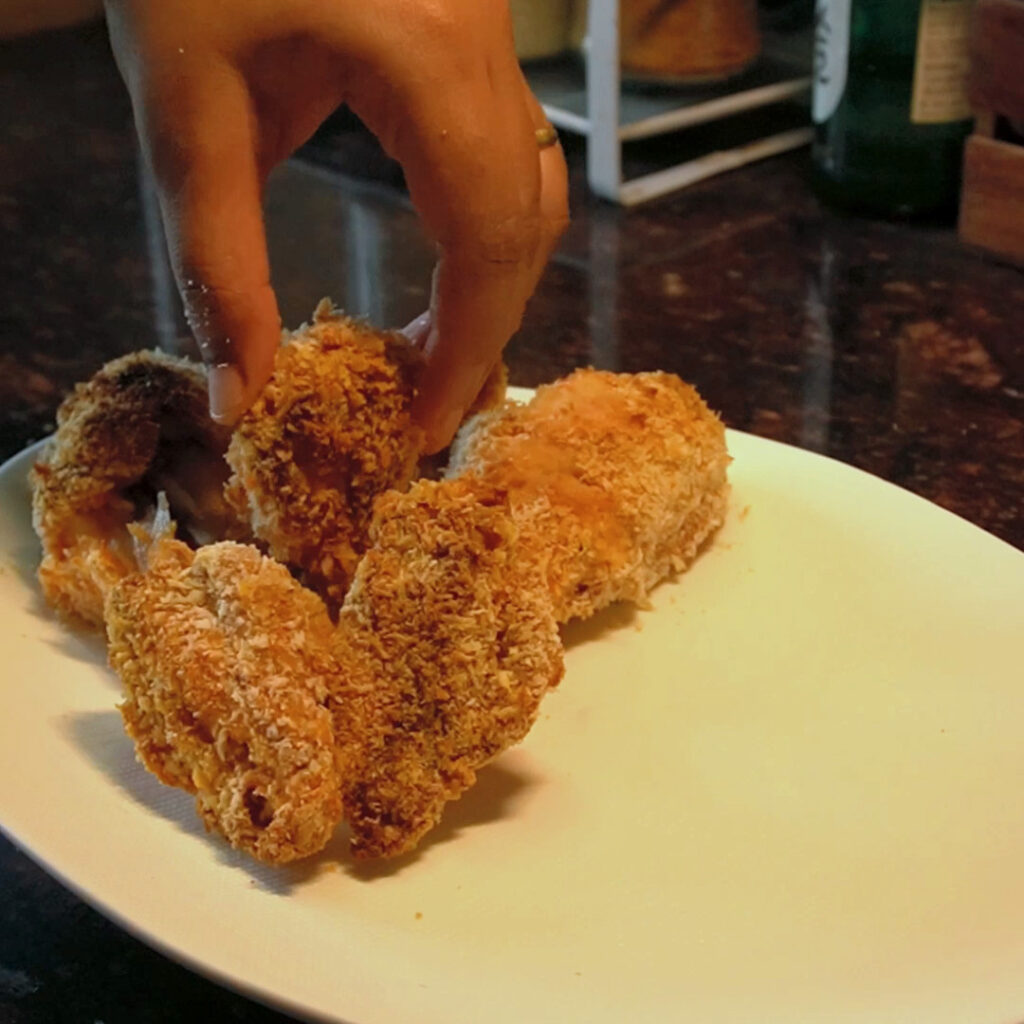
- With my left hand, I will coat the chicken piece with Panko. And then onto the rack. Repeat for all the pieces.
- Preheat you oven. Bake according to the instructions given below :
- Pre-heat oven for 12 minutes at 230°C.
- On the top most shelf on the OTG : Bake the Chicken at 210°C for the first 20 minutes. The next 15-20 minutes bake at 230°C. (This time should be adjusted according to the size of your chicken pieces. If the pieces are smaller, the baking time at 230°C should be reduced.)
- Bottom most shelf : Place the the rack on the bottom most shelf for the last 6-7 minutes at 230°C if you see the bottom side of the chicken are not as crispy. [I don’t do this. I have never had any problem with crispiness.]
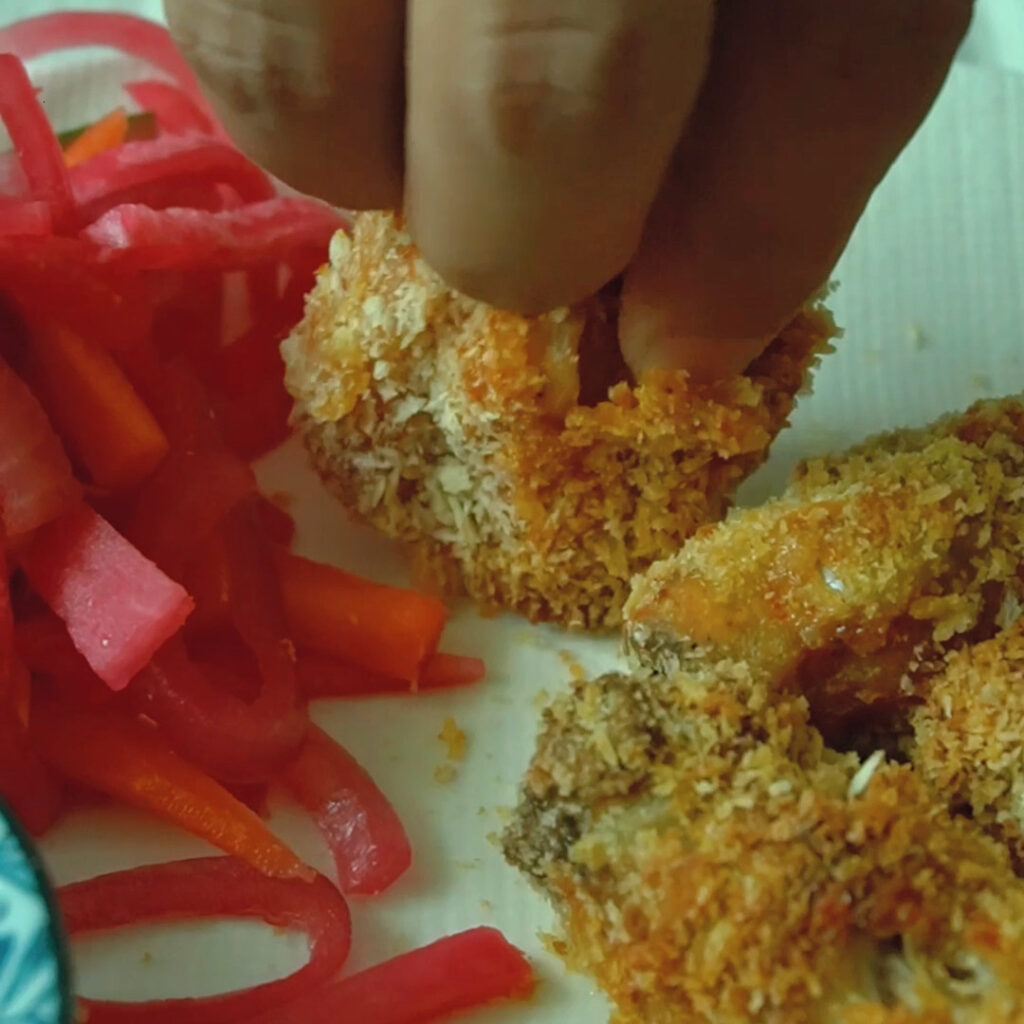
Serve it hot, with pickled vegetables, a drink of your choice and a side of ketchup.
All my love, Feashts

Hi I’d like to know which brand and model of oven do you use?
I use Agaro grand
Thanks for the recipe ,can you please tell me the microwave settings for this recipe?
hey. the recipe isn’t suitable for microwave. Convection-microwave maybe, but in microwave it will get super dry if cooked for too long. It will work in an air-fryer though
Need this recipe without oven
It will work in an air fryer as well. Although you have to figure out the time settings.
I tried this recipe, and it turned out amazing! It has become my daily go-to meal. To make things more convenient, I prepare the entire process for 1kg of chicken and divide it into three portions, storing them in the deep freezer for the rest of the days. This way, I can simply take a portion and pop it into the oven, saving a lot of time.
Instead of using panko breadcrumbs, I opt for multigrain or brown bread. I toast the bread and then grind it into a powder to make it extra healthy ☺️.
Thanks for the recepie
I am so so glad that you liked it! And both the breadcrumbs and the freezer, are wonderful hacks! I also do it actually. I keep some portions in the freezer!
Sohini, your’s cooking skills are truly exceptional. The way you present your dishes is both delightful to the eyes and the taste buds. Truly speaking Your voice adds an extra layer of warmth and charm to every meal 🌸.
Thank you so much for your kind words! I appreciate it a lot!